Will It Run Pt 3
by Bradley Kaplan
if you have not read Part 1 or Part 2 of this article about repairing a Lione standard gauge thin rimmed #5, it is suggest you do so before reading those articles before reading this one.
The plan was to re-assemble this engine and have it fully running for this month’s installment and end this as a 3 part article.
As with many train projects, due to time constraints this did not happen. Hopefully next month this project will end!
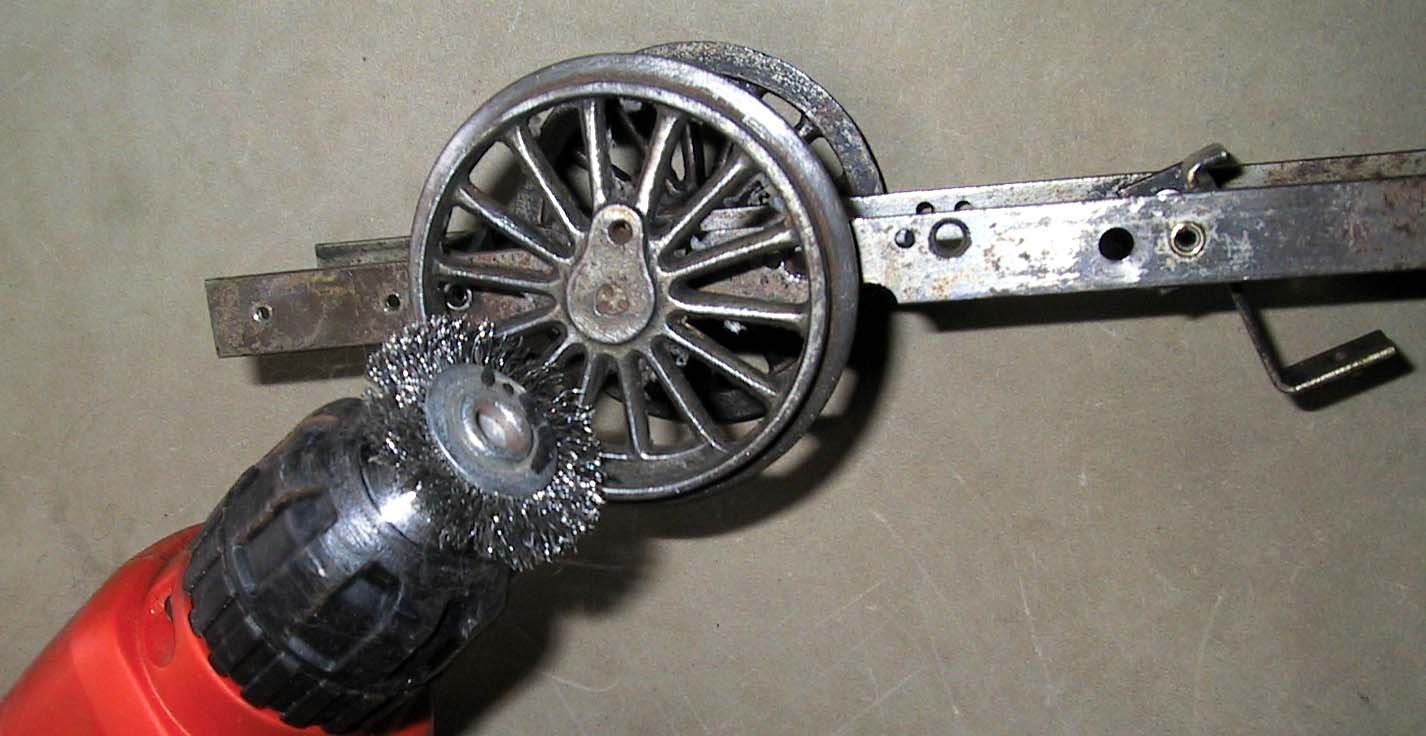
The paint stripper did an excellent job of cleaning the paint off of 90% of this piece. The paint appeared fully removed from the cast iron wheels, but the wheels still had a blackened look to them. I purchased a wirewheel attachment for my electric drill and it did wonders for cleaning the final remains of paint off the cast Iron wheels. When you are using a wirewheel, you want to find a wirewheel with softer metal then you are working with. You also want to be very carefull as not to damage your piece. These wheels are over 90 years old. The thin rimmed wheels on this piece demand a massive premium over the thick rimmed wheels that Lionel introduced on the #5 engine in 1912.
The rims of the wheels also had a minimal layer of surface rust. The wire wheel cleaned this off perfectly.
This engine requires 440 Screws to mount the motor onto the frame and to attach the side rods onto the engine. The 440 screws that Lionel used for this piece have heads that are countersunk and use a flat head screwdriver. Different parts require the 440 screws at different lengeths. The preson who rebuilt this engine did not use the proper screws.

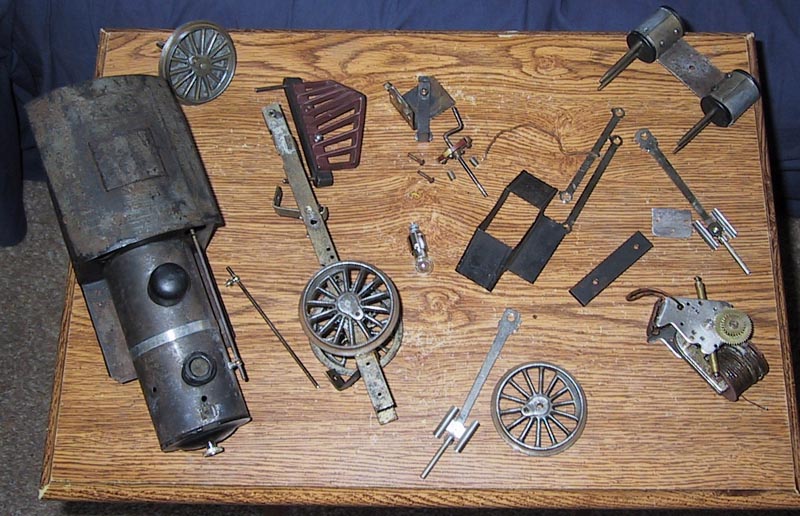
I found that I could only find 440 flat head screws in 3/4 inch and 1 inch lengths. So I bought the longer screws and used my Dremel to chop them down to proper size. To be prototypicall correct, you should try and use the proper screws. For instance Philips head screws patent was filled in 1934 so obviously any piece made before 1934 should not have Philips head screws. To prepare for re-assembly of the piece I laid all the pieces out that will go into the engine. All the parts are as clean as they are going to get.
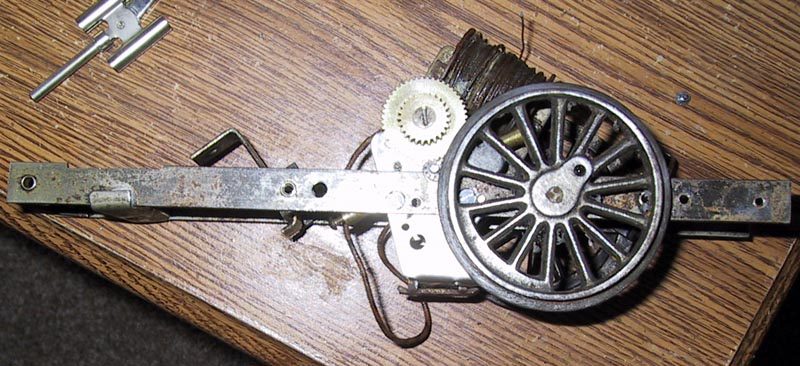
I then dropped the motor into the frame and it fit perfectly. The next issue will have the final re-assembly of the engine!
click here to read the part 4, the last installment in this series


