Will it Run Part 4
by Bradley Kaplan
If you have not read parts 1, part 2 or part 3 yet it is suggested you do so.
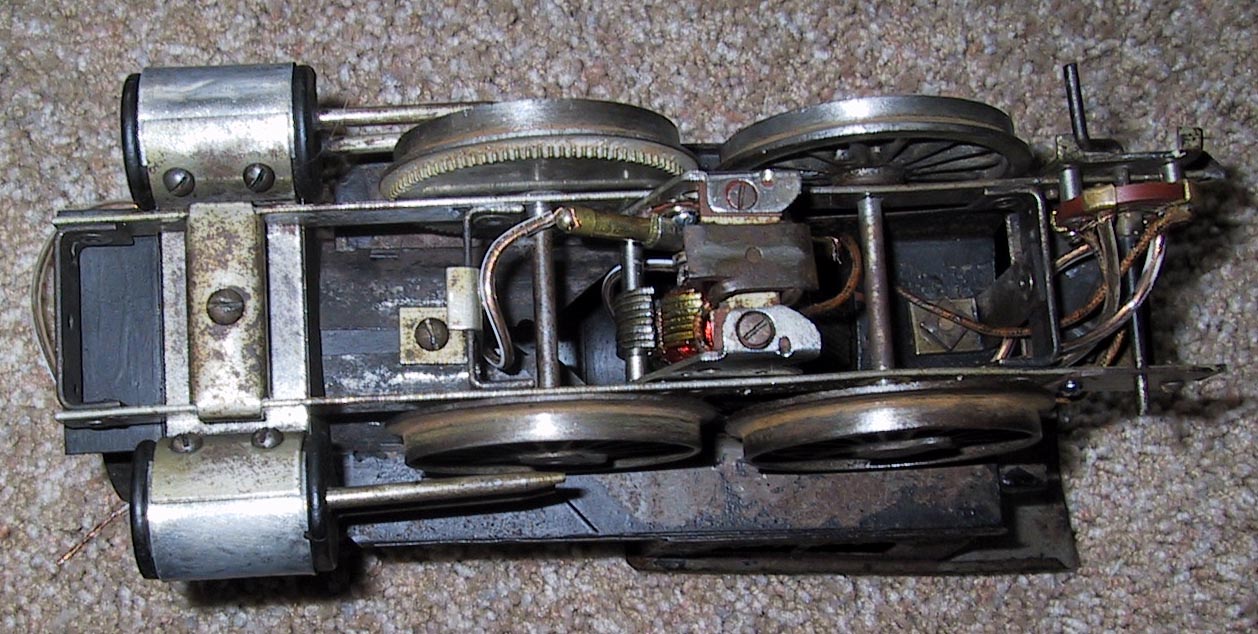
In Part 3, I dropped the motor into the frame and it fit perfectly. The motor is secured to the frame by 2 screws on the side the gear is on. I used 2 of the 4-40 screws I cut down for this step. One of the screws ends up fitting under the gear of the powered axle. So this means once assembled the motor will not come out again.
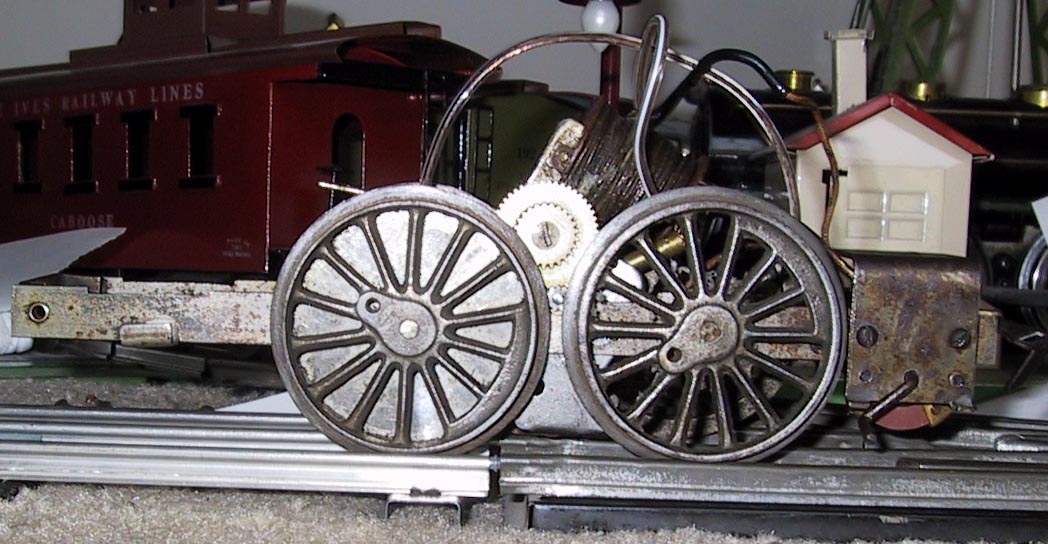
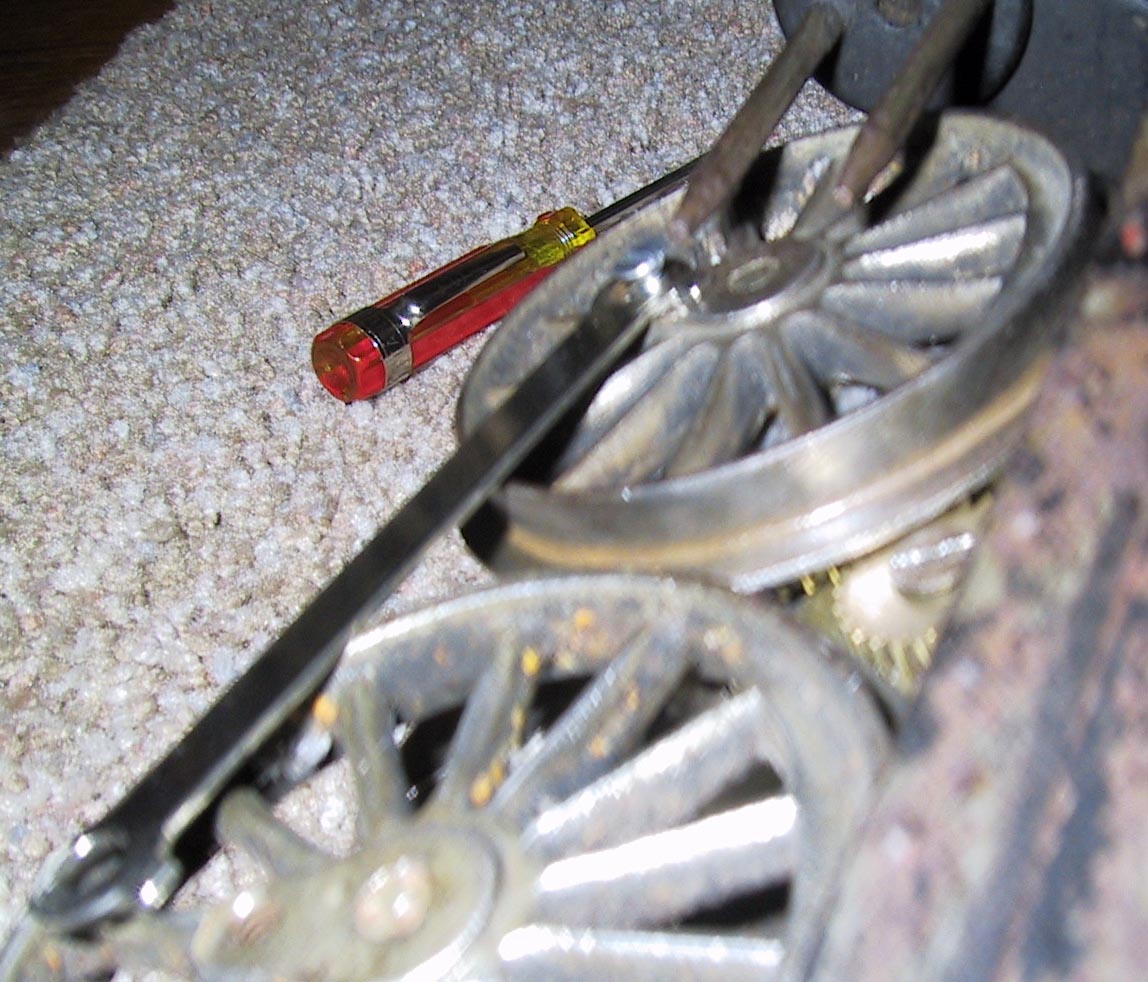
I slid the wheel with the powered axle back through the frame and then pushed the other wheel onto the end of the axle. After properly aligning the side rod holes, I used a center punch to hit the end of the axle. This spread the metal on the axle to hold the wheel in place. This is what Lionel did when they made the piece.
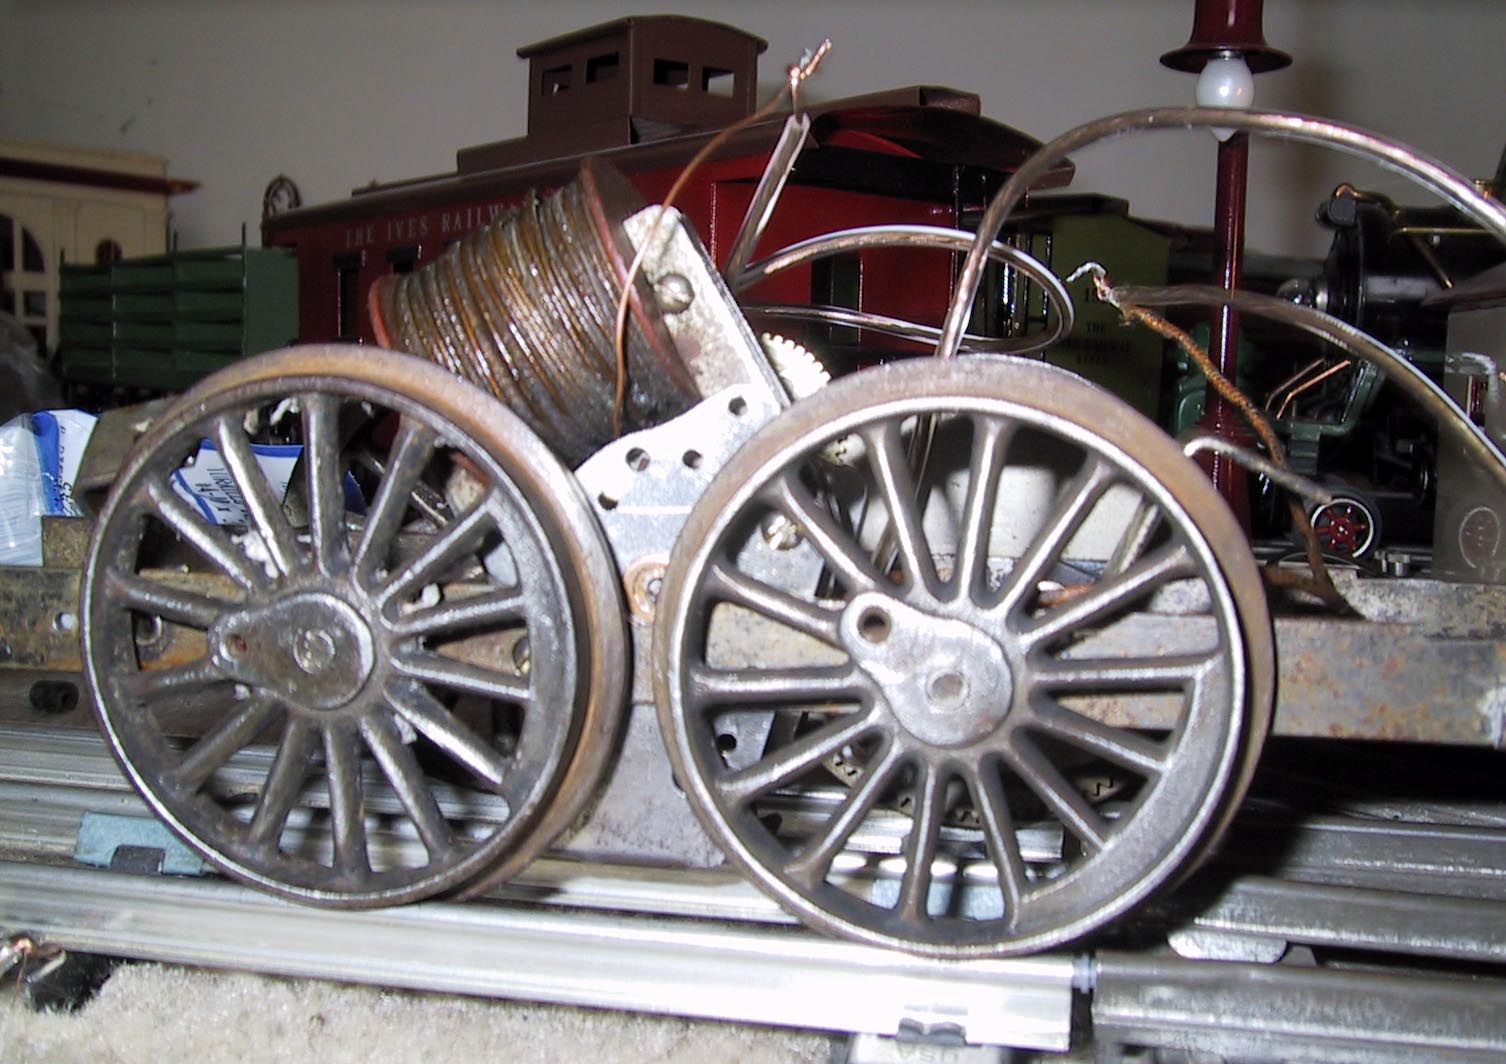
The next thing I did was to wire up the engine to see if it would run. I connected the pickup shoe directly to one of the brushes and wired up the engine without the reverse unit.
After I was satisfied that the motor ran properly, I screwed the rebuilt reverse unit into place and wired that up. The reverse unit needs to be wired so when the the arm is facing forward the engine goes forward and when it is facing backwards the engine goes in reverse. Lionel used to offer track trips that if the reverse unit hit one of these trips it would reverse directions, so for that reason it has to be wired this way.
Lionel motors are wired so that one end of the field coil is grounded, and the other end of the field coil is connected to a brush. The other brush is connected to the pickup. To reverse the direction of the motor, you switch which brush is connected to the field coil and the brush that is connected up to the pickup. The reverse unit has four connections, one from the pickup, one from the field coil and one from each brush. It handles reversing the brush electrical connection for you.
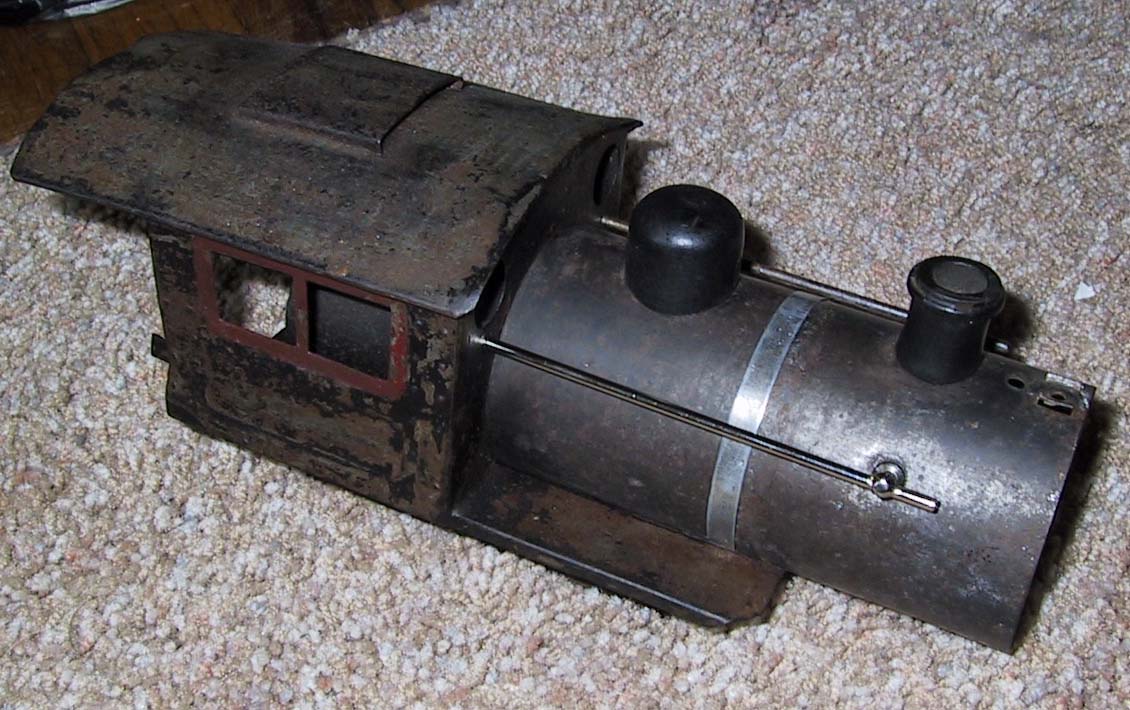
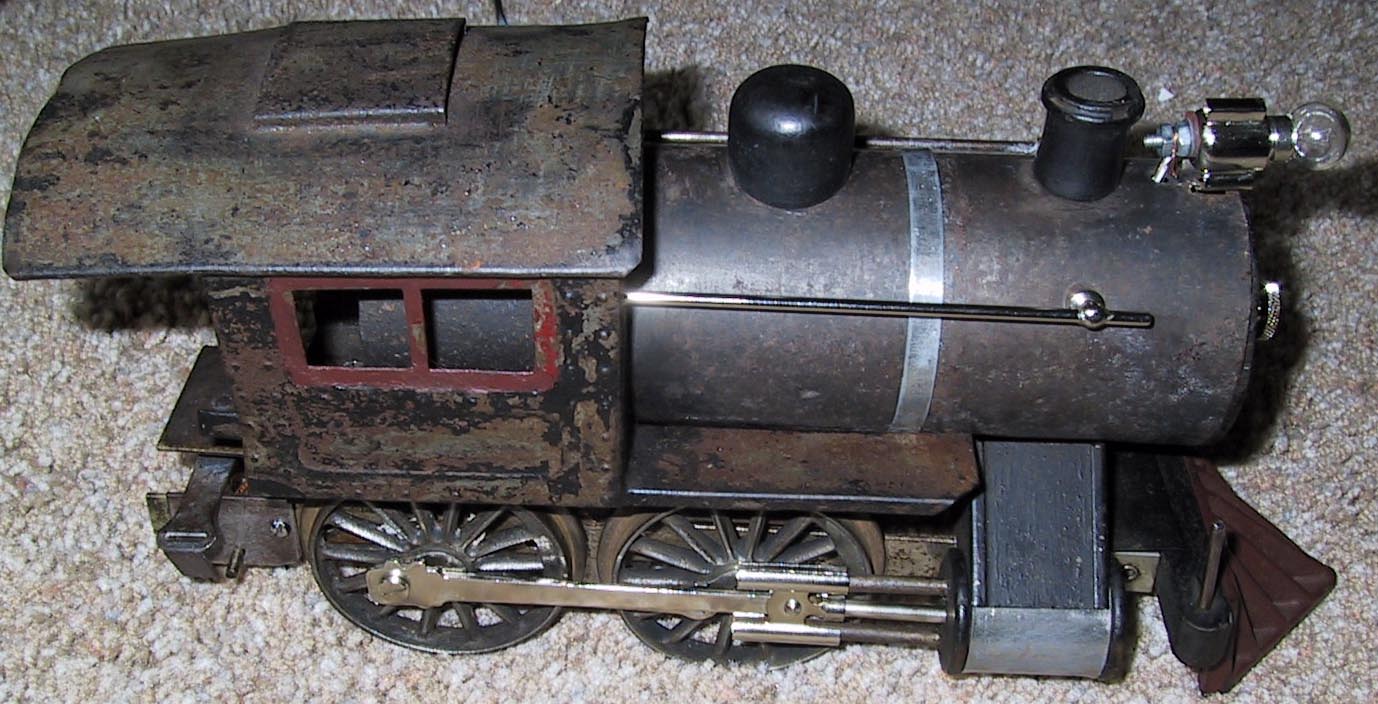
The next step was to install the handrail onto the body. In a part 2 I put the body back together for a photo (and also so I would not loose the parts). I needed to put the missing handrail on install the body onto the frame. So this required disassembling the body again. The handrail has a pin that goes thru the body and is supposed to be secured by hitting it with a center punch. This is a hard angle to do, so I decided to put a piece of solder on the handrail sanctions inside the engine to hold it on. This way I would not damage the body.

At this stage I slid the cab back onto the steam chest and it was ready to be put into the frame
I ran a wire that went from the pickup thru the hole just forward of the smokestack that was to power the headlight.
I first bolted the rear of the engine to the frame followed by the middle of the engine. (actually the middle and front of the engine have a long piece of steel with tapped holes the both screw into that runs the length of the boiler)
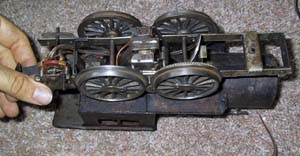
Next I laid the steam chest in place and ran the last bolt that runs from the steamchest through the motor frame into the long piece of steel inside the engine.

Next the wire for the headlight was connected and the headlight slid onto boiler. This was followed by the boiler front. (If you remember from Part 2 their is a rod thatruns through the engine.)

The side rods and connecting rods get screwed in place and the engine is finished!
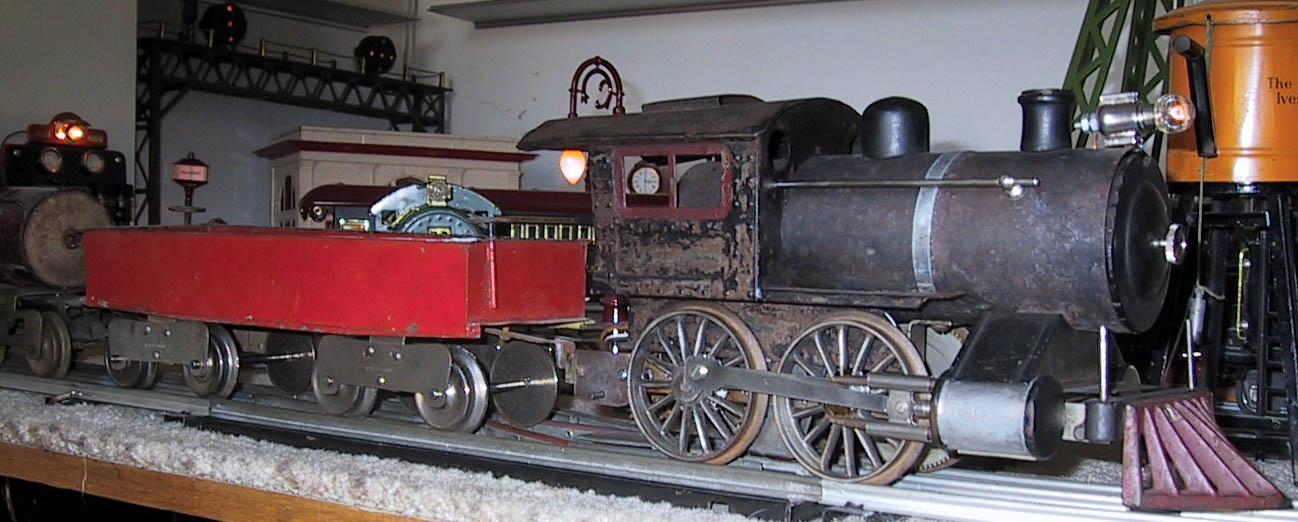
Eventually I may re-create the missing coal bunker that goes over the reverse unit. If I create it I will probably make it attach with a magnet so I do not ruin the authenticity of the piece.
With this engine I succeeded in restoring it to its original glory. I only added the parts that where missing. I was able to successfully clean off the coatings of paint and restored this to what I would consider TCA “good condition.” I would not consider this a restoration since no paint was used on it. (though if I sell it I will have to disclose what parts are reproductions and the fact the armature was re-wound)


