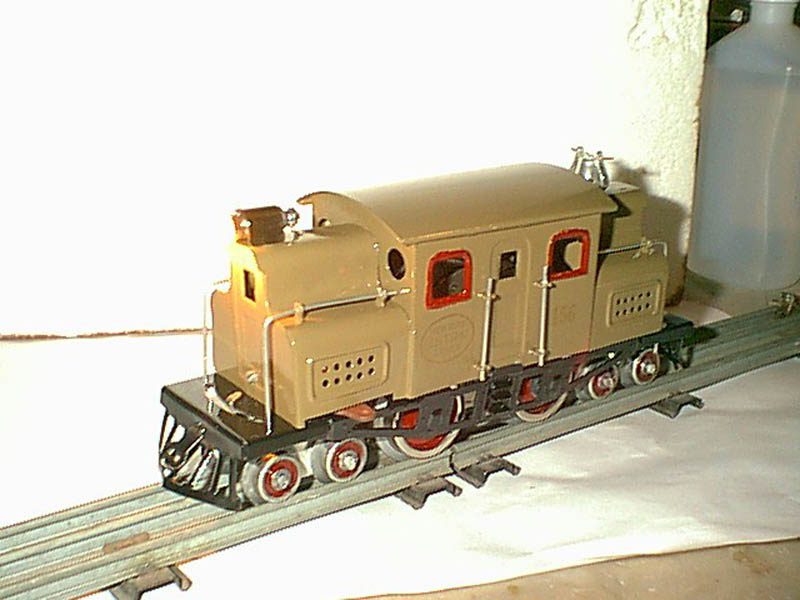
156 Set Restoration
by Lester Kramer
This person wondering if I could do a restoration on this 156 set contacted me. He recounted to me how this set has been in the family for the past three generations.
It happened that his Grandfather had purchased the set from a hardware store called Bradley’s in Pennsylvania sometime during the mid-1920’s


His father told him it was his first train set and was given to him at Christmas time by his father.
He indicated that he still has the original set box and that the price of the set was marked on it in pencil and that it had been purchased for $10.95.
He indicated that it was his father’s, who was in his eighty’s, and that he wanted to restore the set and make a glass case for its display, and surprise his Dad, with it on Thanksgiving Day.
I guess, I am just getting old, or sentimental I agreed to do it, and moved it up on the list of restorations I needed to complete.
Since it was in the beginning of the fall, and it gets busy around here, about as hectic as Santa’s Work Shop, except I have no elves, This is a one-man show!
I requested that he send me the items minus the set box, and that I would provide him with a firm cost of restoration.
And that I request no money up front only payment upon completion of the restoration and at that time I would email pictures of the completed restoration along with my request for payment.
A few days after Thanksgiving I received an email form the Owner of this set and he advised me of what happened on that Thanksgiving Day.
He invited his Dad over for Thanksgiving Dinner and had the train in a glass display case on top of a cabinet in his home.
He recounted that his Dad spotted it right off, afterall these years of it just sitting in a box in the attic, and began to get tears in his eyes!!!!!
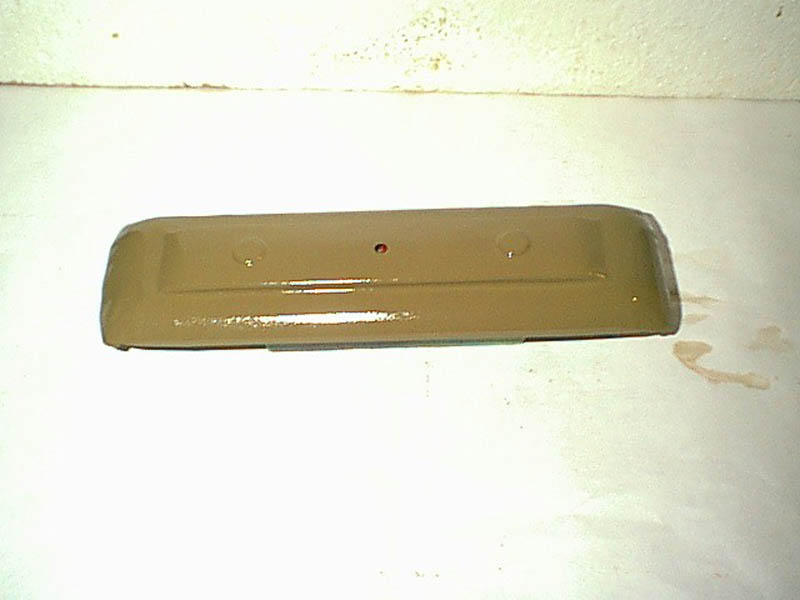
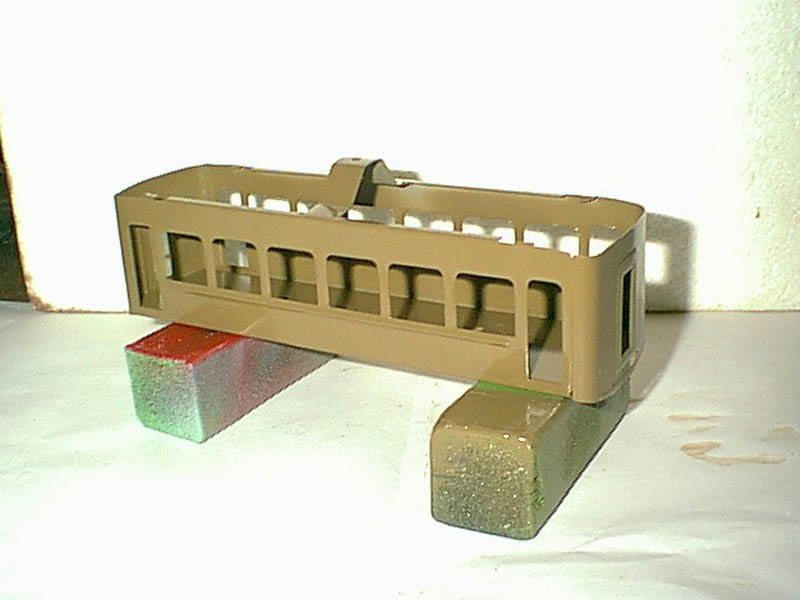
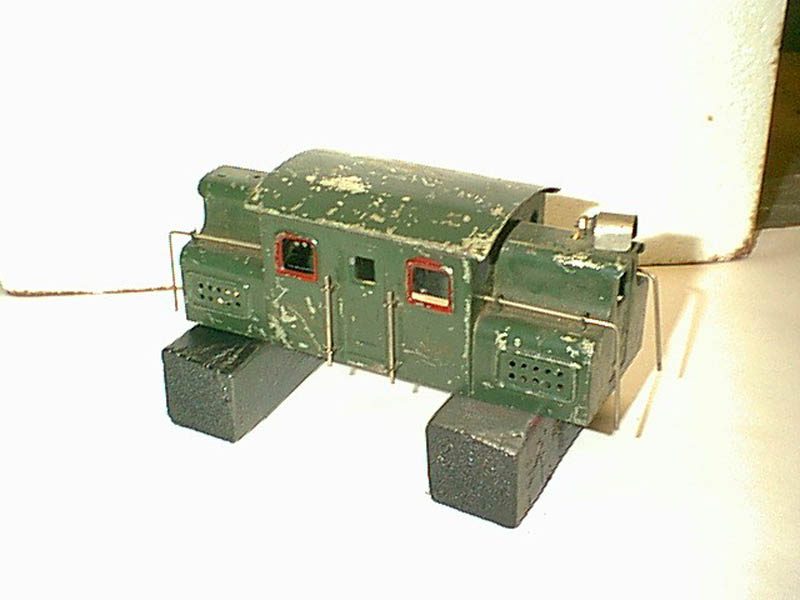
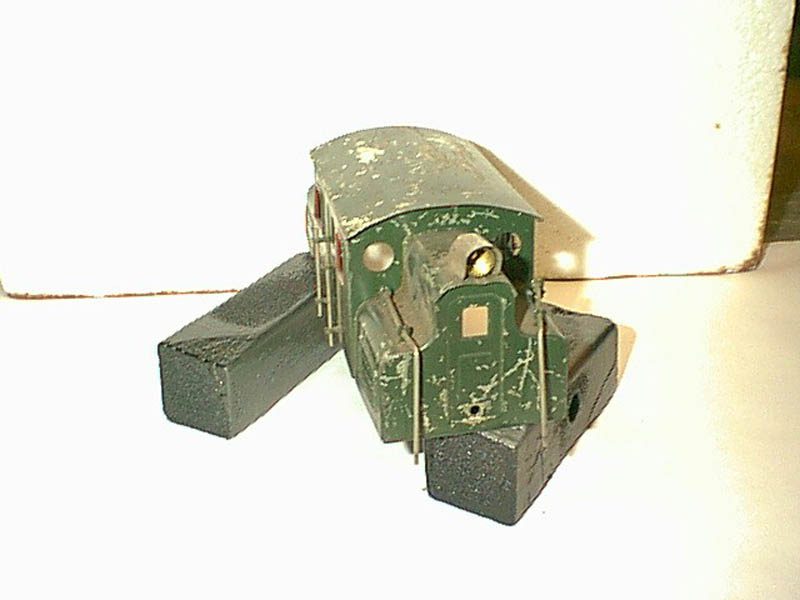
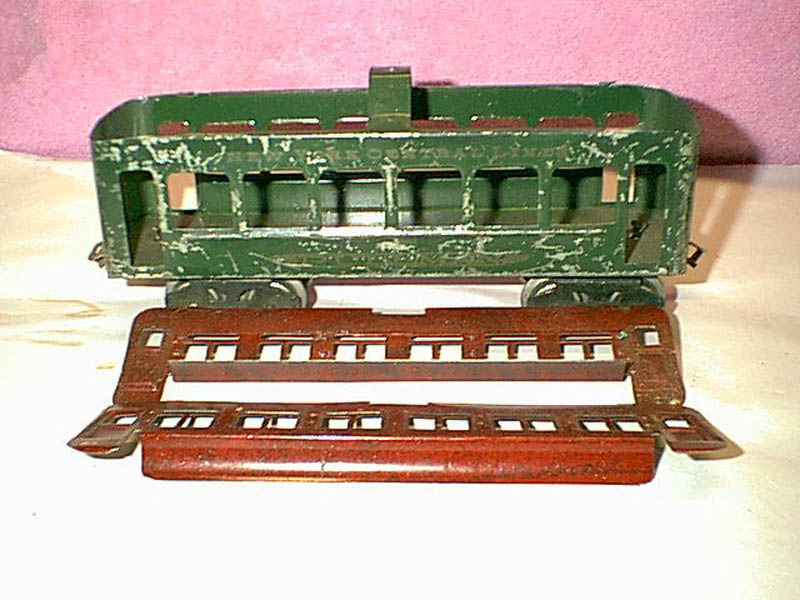
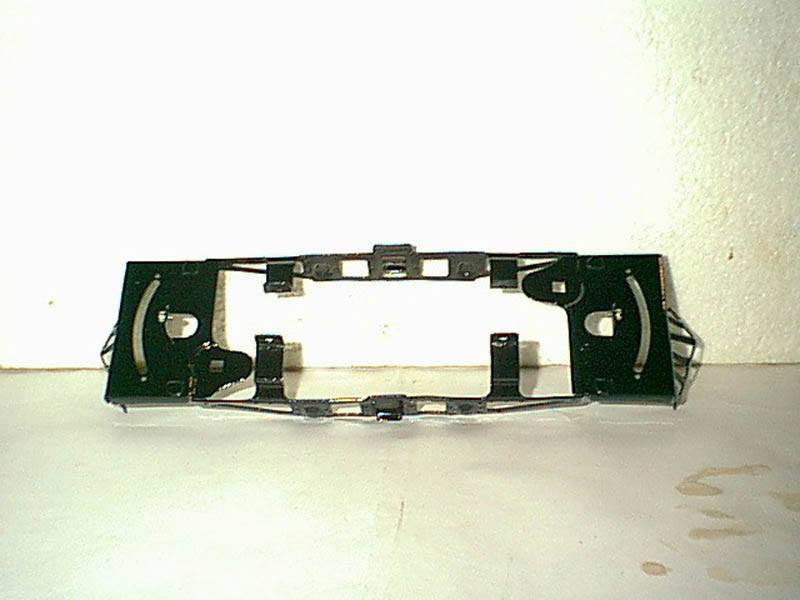
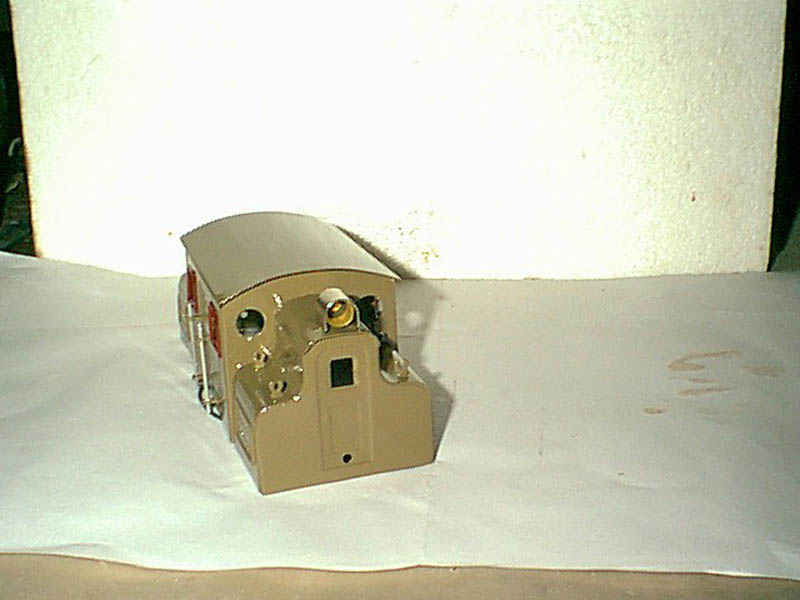
The restoration process used was that I in this particular case I first boiled it in Tide laundry detergent and then glass bead blasted it to get a nice smooth finish for the primer and paint.
I chose to use the boiling method on this to remove the paint, so that I could use a low air pressure when glass bead blasting to prevent the sheet metal from warping.
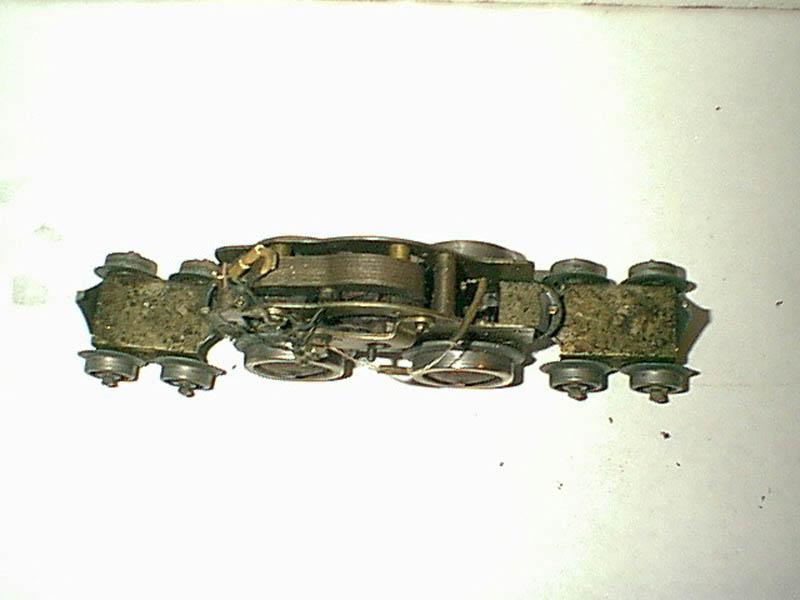
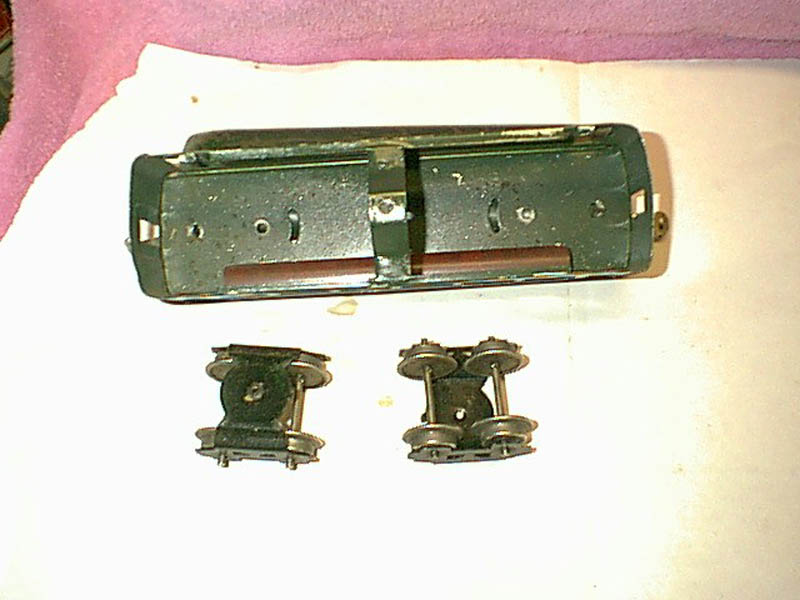
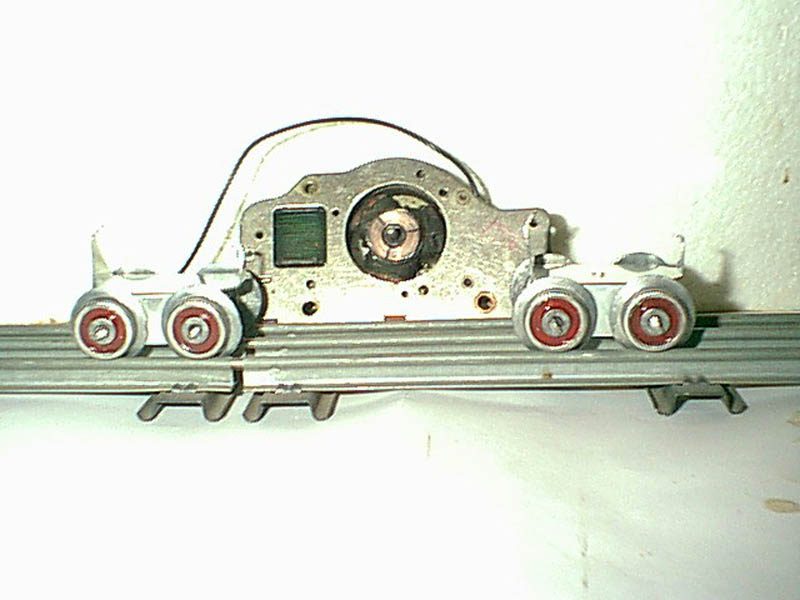
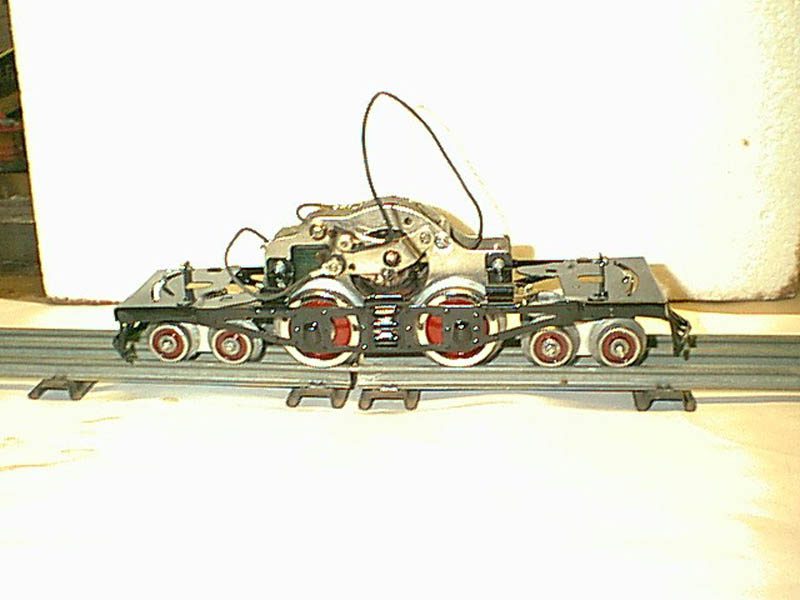
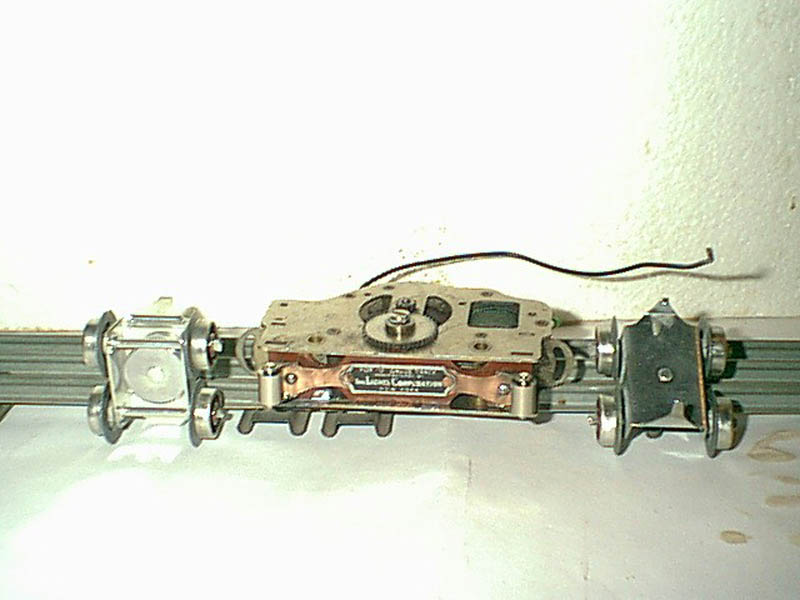
I replaced the Drive wheels as these were in there usual condition of disintegration, the trailing and or pony wheels were in very good shape except for a chip or two out of them, but at the time there were no reproduction wheels, for an exact match to the 156.
Today there is a dealer who has reproductions of the complete frame and wheels for the pony and trailing trucks.
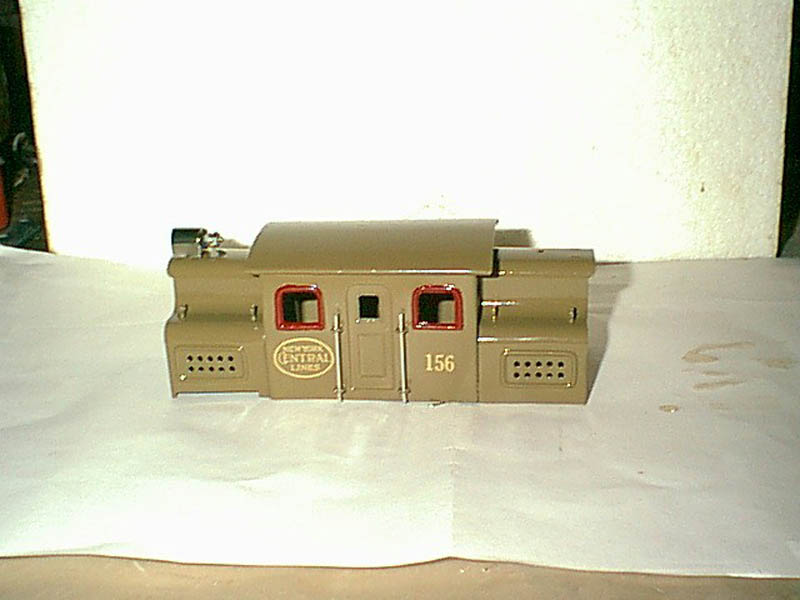
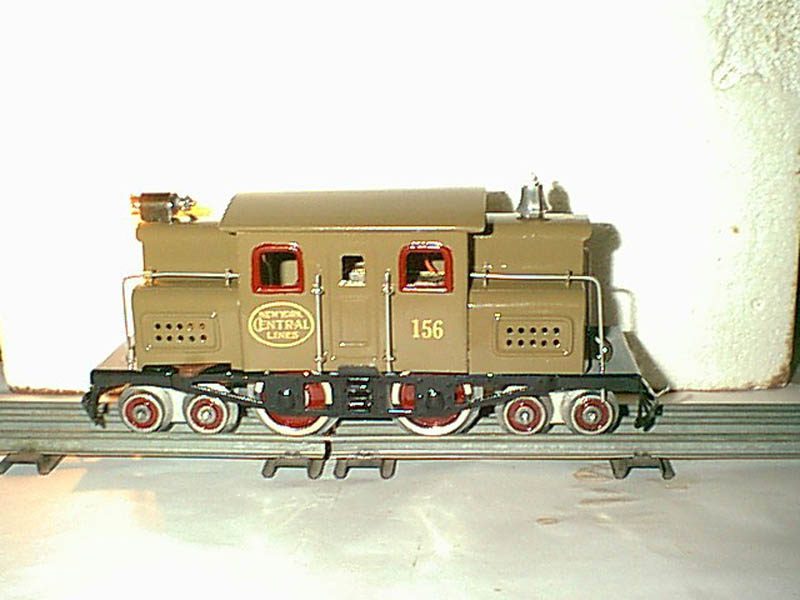
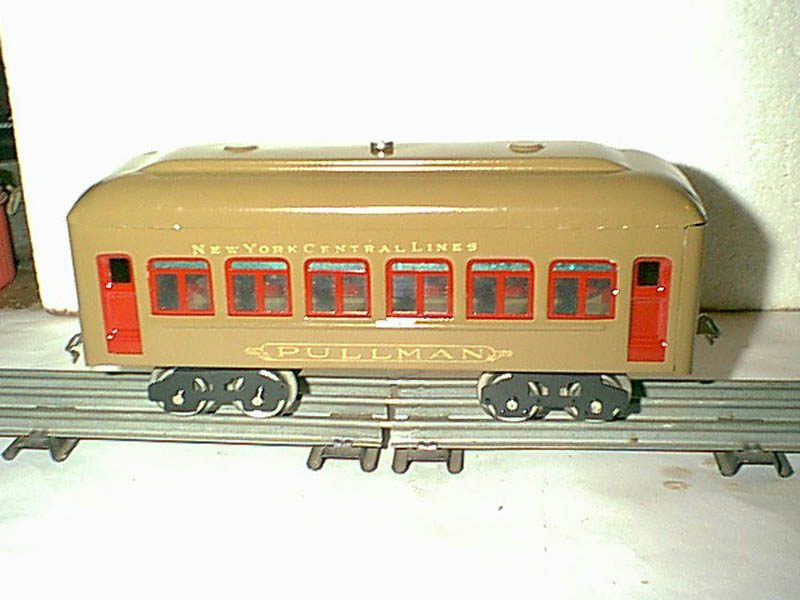
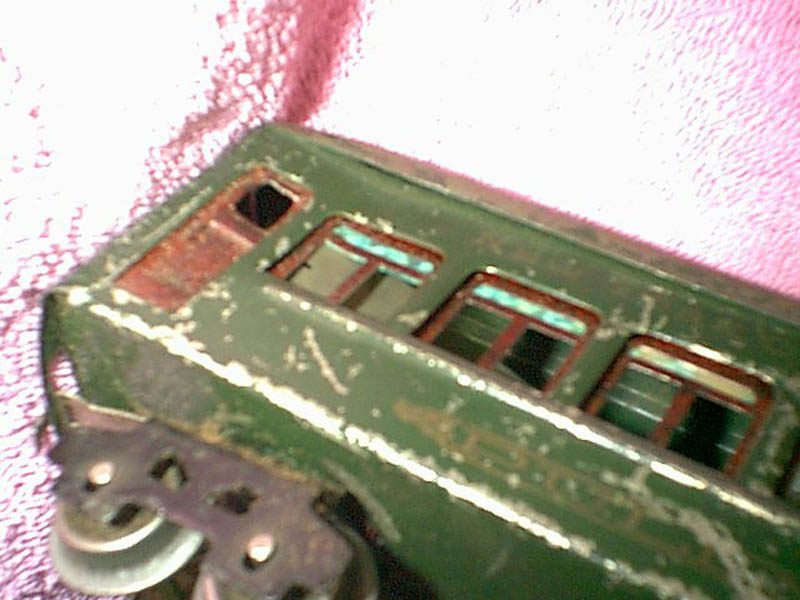
After priming and painting I then installed the lettering which are DRY TRANSFERS, which are no longer available, I have since switched to rubber stamping of the lettering and numbers on all my restorations.
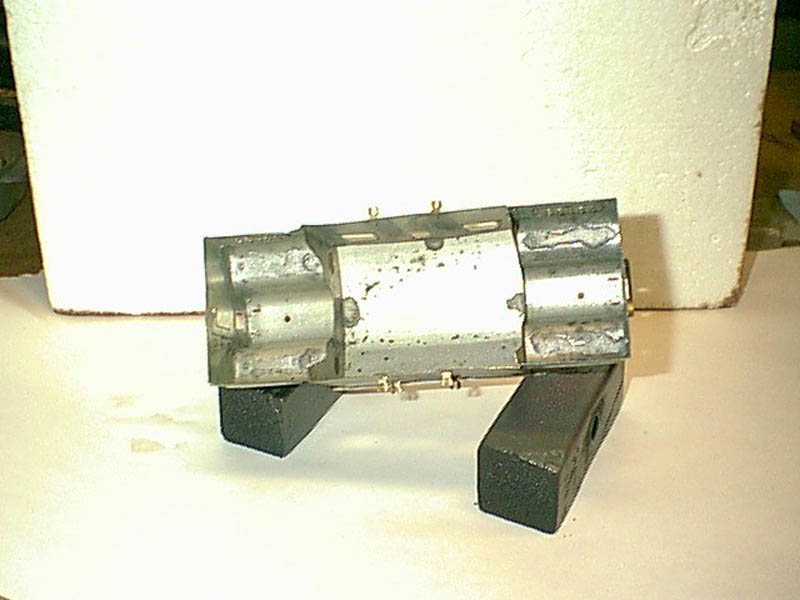
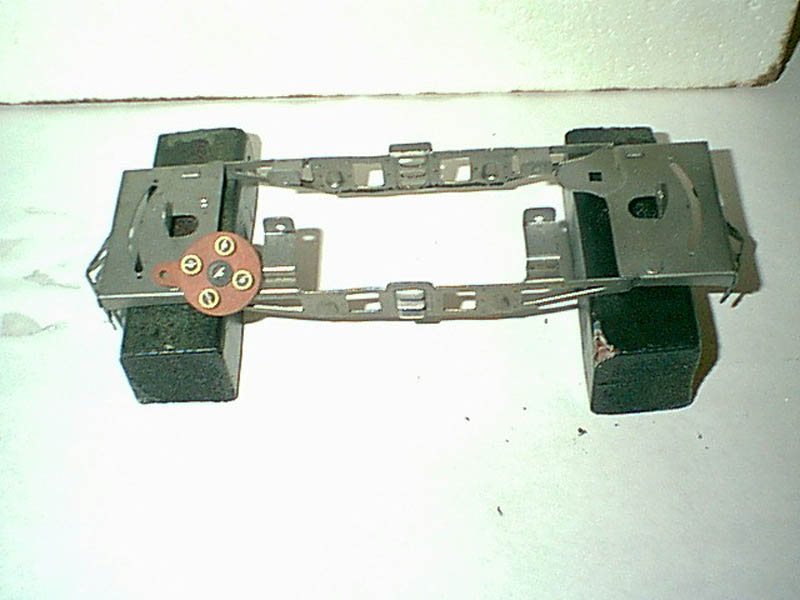
The motor was completely cleaned lubed, re-wired and new brushes installed. In this case I had to also split the motor case as the ground wire on the end of the field coil was broken and no longer attached to the ground on the inside of the motor case. It required that I unwrap a strand from the field coil inside the motor and reattach it to the motor case.
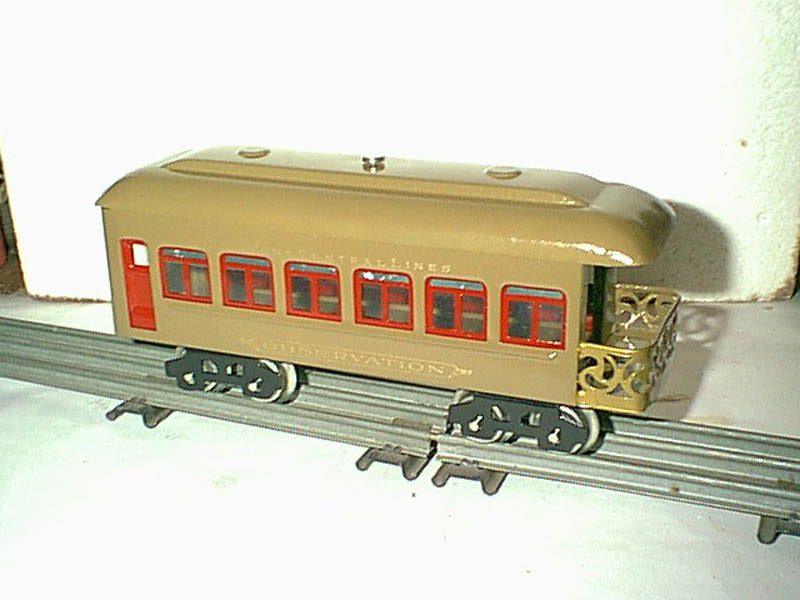
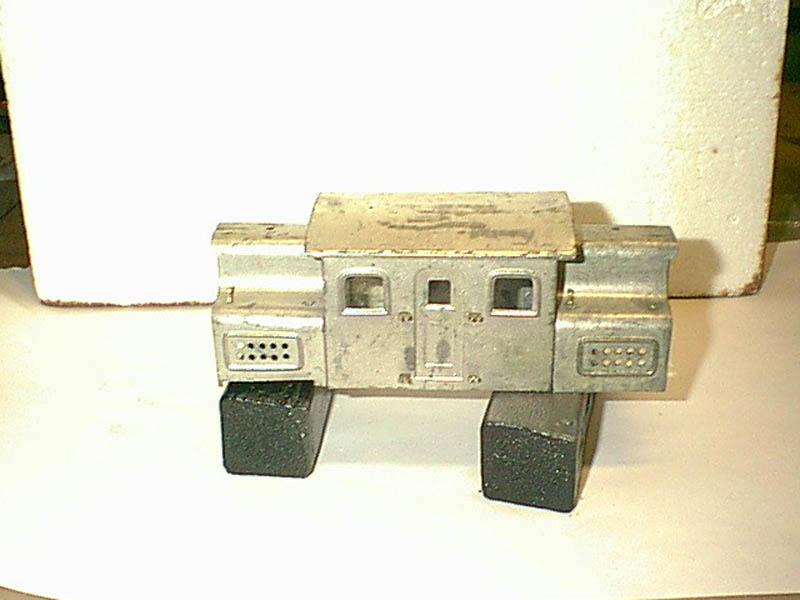
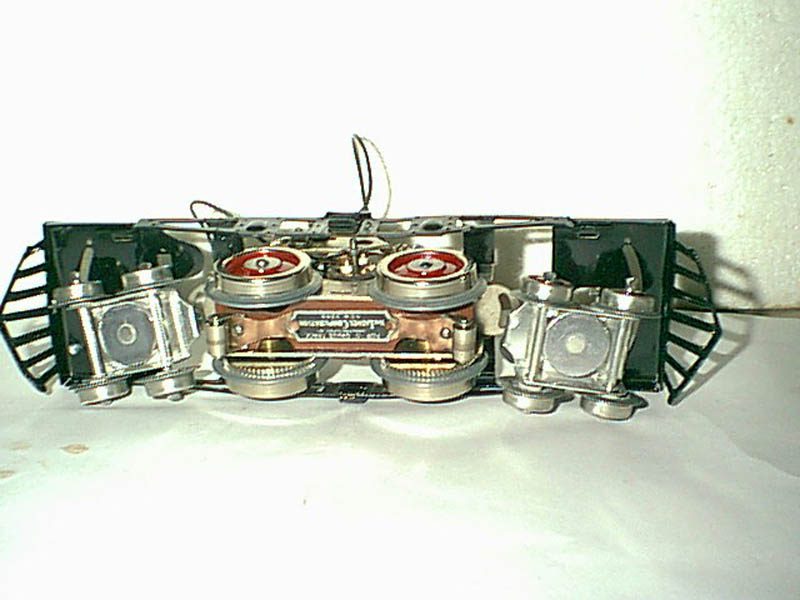
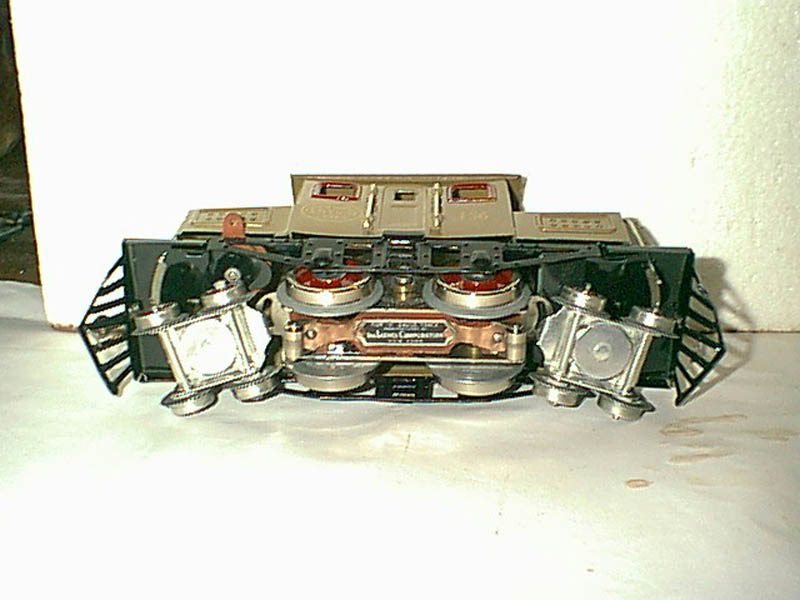
Then to set off the final restoration I restored the brass Lionel name plate
located on the bottom of the roller assembly to its Original Condition.
There are more pictures of this set and others I have restored at my album on MSN
Here is the URL if your interested in seeing more.
http://communities.msn.com/PAPALESTRAINS/shoebox.msnw?albumlist=1
I do Full and Partial Restorations as well as Re-plating and Prewar Parts mainly used parts from my “BONE-YARD”
I can be contacted at [email protected]