Digital Photography for Dummy Units
By Bob Mintz
Digital photography affords much latitude in the imaging process. One does not need to have a $15,000 digital single lens reflex camera in order to take decent photographs, especially at close range and without the need of cumbersome and expensive lens.
Photographing real trains at high speed is another matter. Digital cameras do not quite have the faster shutter settings necessary to get a non-blurry image from a speeding locomotive.
I have never had an elaborate static display and backdrop for my photography. In fact, many of you attending the April 2003 York TTML breakfast may have seen me doing photography of Shannon Sikora’s pieces right there on the table cloth!

Due in part to current living space limitations, I have been doing much of my photography work at my “Lionelville” storage bin.
I have basically taken two white and therefore reflective bankers boxes and laid one on top of another to act as a counter space. I am also shooting against a white wall.

When you combine the ease of use of a digital camera and off the shelf software package such as “Photoshop”, even a poor image can be transformed into an adequate one.
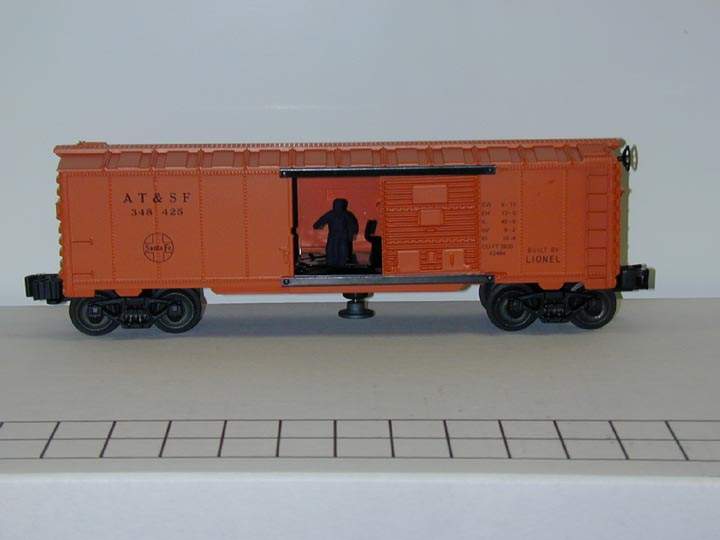
I have purposely underexposed this image to show you how you can easily perform “Mintz Magic” yourself.
I lean against a wall about three feet from the object, thereby making myself a bit sturdier. You can use a tripod if you like to avoid a fuzzy image.
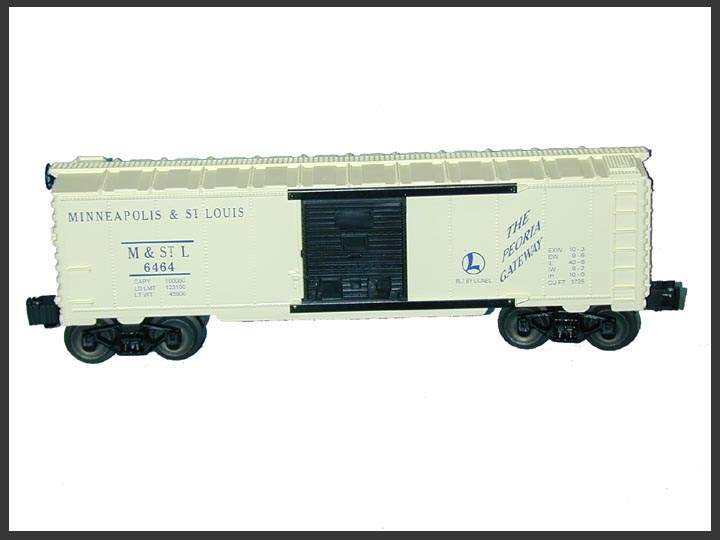
One basic problem that I have found while photographing toy trains at close range, is that any shadow beneath the article will blend into the trucks or wheels.
Since my flash unit on the camera is on the left side of the camera, a shadow will also fall on the right side of the object. I try; if at all possible, to have the brake wheel on the left side, therefore, it will not create a shadow that will be difficult if not impossible to remove.
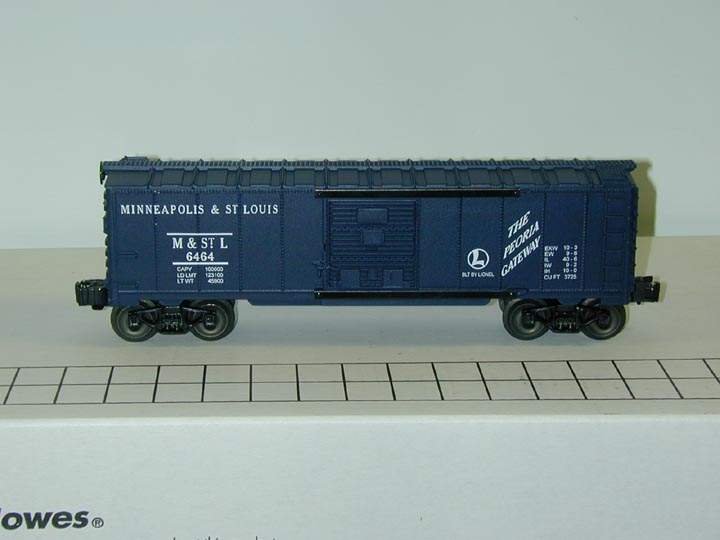
I want to get as much light under the item as is likely. Usually, I photograph using a flash. This picture was taken close to the camera. A more ideal scenario is where I will be using the white box as a reflecting device to help me later to brighten the underneath of this boxcar. I therefore, push the boxcar back a little ways against the white background, which in this case is the wall.
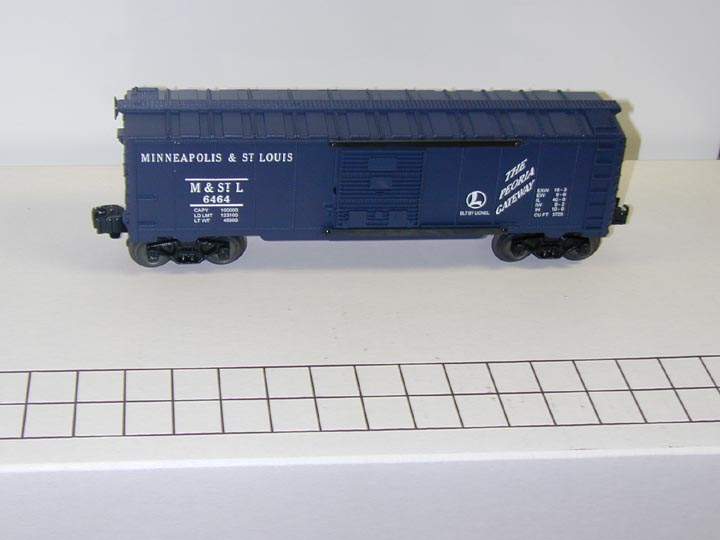
After I take the image, I will use my software to remove any unwanted surroundings, in this case the black striping of the bankers boxes. I personally find that silhouetting an image on a white computer screen background is the most attractive and eye catching.
I will also use my software to “color correct” and adjust the brightness and contrast of the item until it more closely resembles the original.
The next step is to crop the image to just the size of the item that you are photographing.
The above works well when you are using a non-white item against a white background. There is enough contrast so that your software can “find” the color of the items to be deleted or manually using an eraser tool.

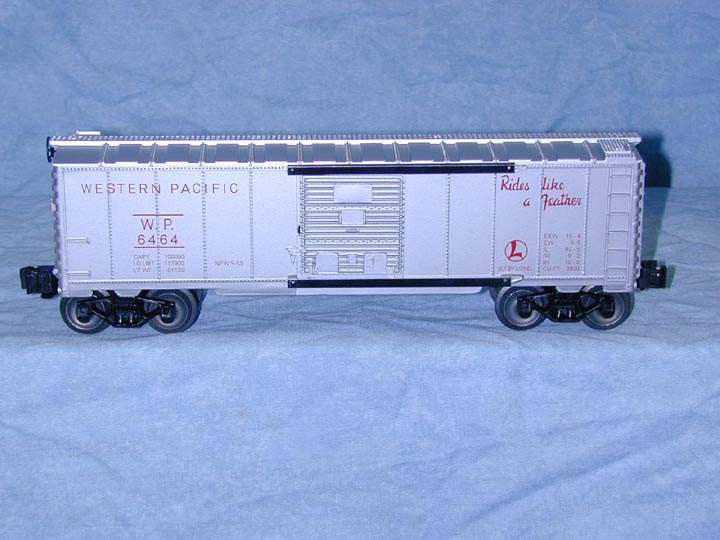
What if you are photographing a white or light colored piece?
I bought a cheap blue tablecloth. I found this much more flexible than blue oak tag paper (which can stain, fade and tear); and you can wash it if it gets dirty. As you will be ultimately removing the blue color from the image, the creases in an un-ironed tablecloth really do not matter, regardless of what your wife says.

The Adobe® Photoshop software comes with a terrific pallet tool called “magic wand” which will strip away any unwanted color.
Again I will crop the image and resize it to 10 inches across, the maximum that a computer screen can show without the use of “sliders”. Websites also are most efficient using 72 dpi or dots per inch, so this will be another criteria for saving your images.

I try to photograph at 300 dpi, do my thing, and then save the image at 72 dpi. This may or may not be possible with your camera and/or the limitations of the storage capacity of your flashcard or other storage media or device.
One other point that I need to bring out is the difference between an “SLR” or single lens reflex camera and one that you see an image through the viewfinder. This pertains to both digital and regular cameras.
It is called the “Parallax View”, and is not to be confused with the movie starring Clint Eastwood and George Kennedy.
In this case, what you see is not necessarily what you get.
When you look through the viewfinder with an SLR, through a series of mirrors, you are actually viewing through the lens itself.
In a non-SLR camera, the difference between the two, the viewfinder “eye” and the actual lens itself, causes the parallax view. It may be a subtle difference, but the results may not be exactly what you were originally looking for. You may cut off a part of your image that you didn’t want to, etc.
As I mentioned at the beginning of this article, a digital SLR camera can cost about $15,000 and up. A hand held digital camera with simple flash; about $50 and up.
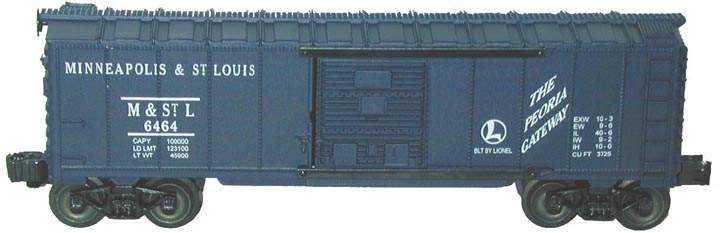
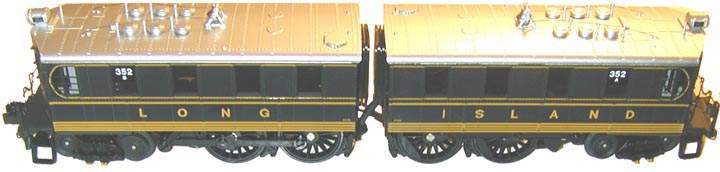
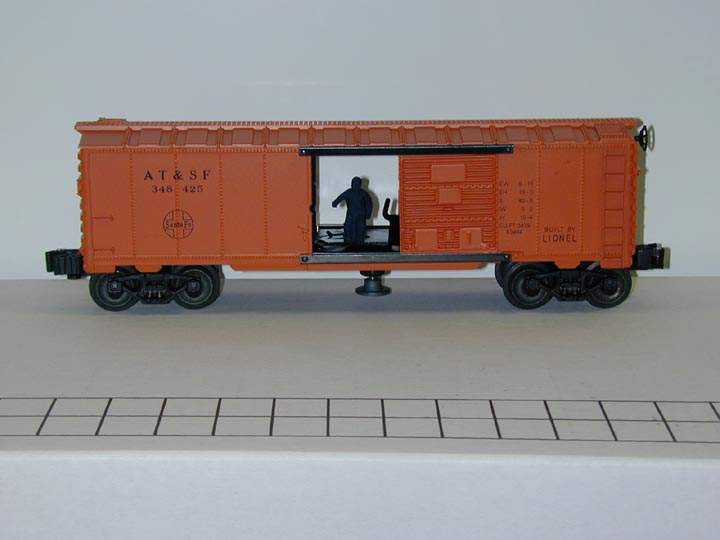
One other adjustment that I do is try to rotate the image so that it is perpendicular and parallel to the computer screen. Another tool in Photoshop is a drafting tool, horizontal and vertical line makers. I make a box squared to the computer screen so I can rotate the image ever so slightly as I have done here.

Several more high-end digital cameras have settings for various external lighting conditions, such as an SLR with “real” film would have. These may include: “sunny”, “incandescent”, “fluorescent”, “cloudy” and “flash”.
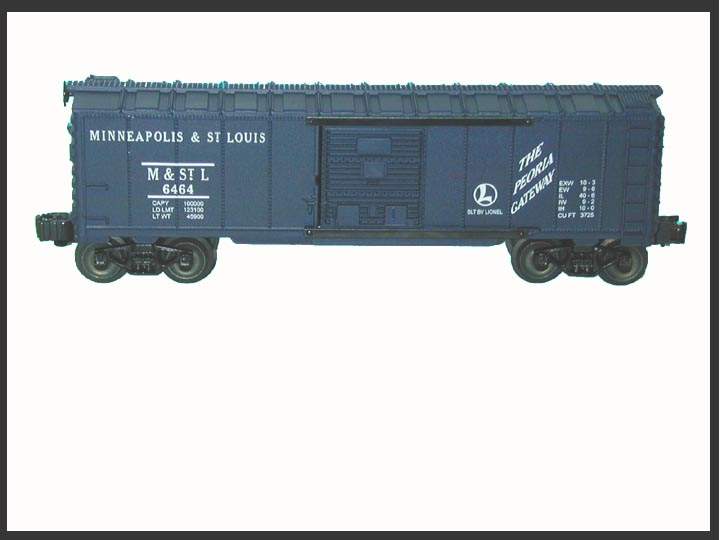
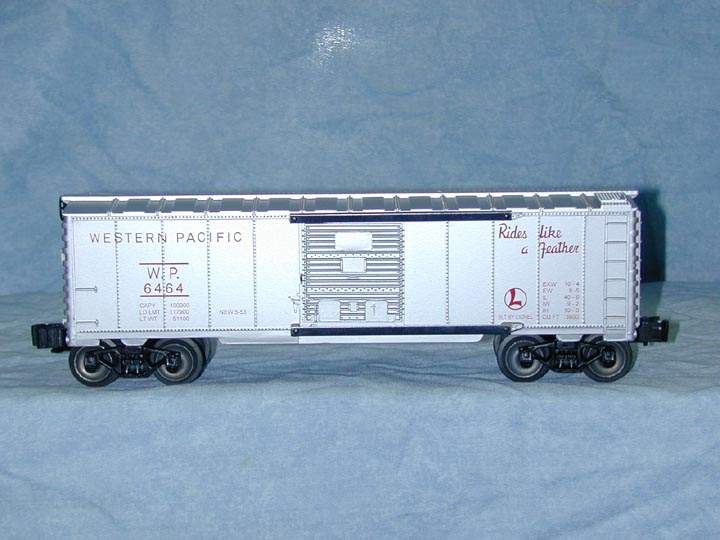
My storage bin has fluorescent lighting, and this is the result of using that setting with no flash. I find that the ensuing likeness is too bluish. Again, I can color correct it later in life if need be.

The incandescent setting left the image looking a bit flat in my opinion.
Another drawback of using incandescent lighting is that it tends to reflect off of glossy painted objects. If any of you have a DVD of the movie “The Wizard of Oz”, you can actually see the studio lights reflecting off of the cornfield when Dorothy first dances with the Scarecrow.
I have found that using the flash setting gives the best overall look to the image. There are times that an additional lighting source may be necessary if your flash unit is not at the center of the camera. As I mentioned previously, if your flash is towards the left of the lens, you will most likely have a shadow on the right side of the object. Some objects like the #192 Control tower and its’ lattice structure will cause mucho headaches regardless.
One addition “Hintz from Mintz” is that if you are photographing an operating boxcar, open the rear door so that light comes through so you can see if your “Lionelville” employee is goofing off or not. If not, he may be sleeping in the shadows, and who knows what evil lurks in the hearts of men…


