PRODUCT REVIEW: SHOWCASE-EXPRESS Shelving Units

By Bob Mintz
It finally hit home that it has been 10 years that the “kids” have been neatly tucked away in dead storage after my apartment was rocked on 911.
Three moves within NYS in the last 10 years and finally the ultimate one south to the land of no basements or attics, aka Florida.
It’s time…so I started looking at different shelving systems.
There are an almost infinite number of ways to display your trains. You can go to the store and buy some lumber and braces and attach your own shelves to a wall; you can buy bookshelves and convert them to display cases; you can haunt “Going Out of Business” sales and obtain surplus retail display cases.
I have also seen display cases in the Orange and Red Halls at York, but they were quite heavy themselves and were not built for stacking, more along the lines as a stand-a-lone product. I also did not want the wood cases to outshine or take anything away from the stars of this project, namely the trains themselves. I wanted to maximize this display, wall to wall, ceiling to floor.
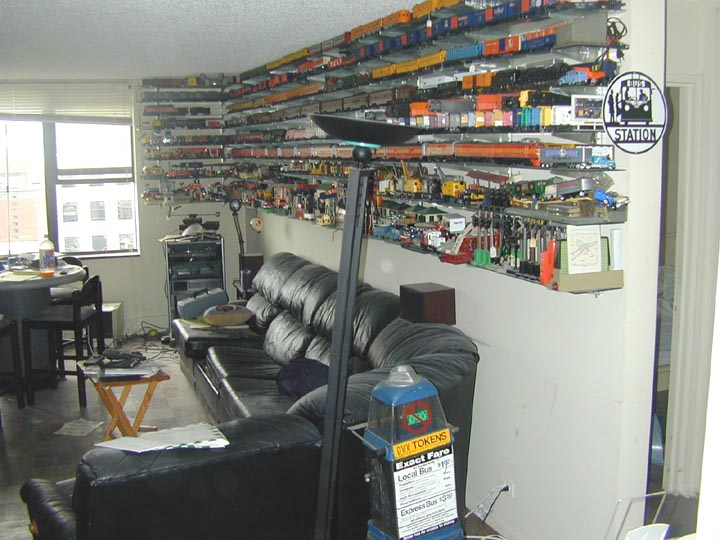
For years before and up to 911, I had parts of my collection on glass shelves. It was nice to sit under them and look up and examine them from a totally different angle, sort of like the view the guy who changes your oil gets in the pit observing the bottom of your car.
There are several track systems on the market, in no particular order:
Mr. Train Model Railroad O Gauge Display Shelf:
http://www.mrtrain.com/proddetail.asp?prod=B.model-railroad-o-gauge-display-shelf
Glen Snyder Display Systems:
http://www.gsds.com/
Rail Rax:
http://www.railrax.net/
Matysik Displays:
http://www.matysikdisplays.com/index.html
Track Side Displays:
http://tracksidedisplays.com/HTML/OPENCABS1.html
Freedom Train Shelving:
http://www.trainshelving.com/
Trainshelf-Multi Gauge Display Shelves: Dick Wachtman TCA 83-19962 [email protected]
But my biggest concern was the eventual accumulated dust and the need to take the trains off the shelves and clean both the shelves and trains at some point. This would occur regardless of any open air system selected.
That is the reason that I knew that an earthquake had hit NYC in 1985 when I was living in Greenwich Village. While attending a movie at a theatre near one of the many NYC Subway lines, I thought that I had felt something unusual, but summarized that it was a Super Duper Express train barreling downtown and I was feeling the resultant vibration. Upon returning home, I noticed that all of the trains had danced just a wee bit off center, perhaps a ¼ of an inch, leaving four minute clean areas where the trucks had previously touched the glass.
This time around, I wanted something that was enclosed, and looked nice and stylish.
I then discovered Showcase Express:
http://www.showcase-express.com/
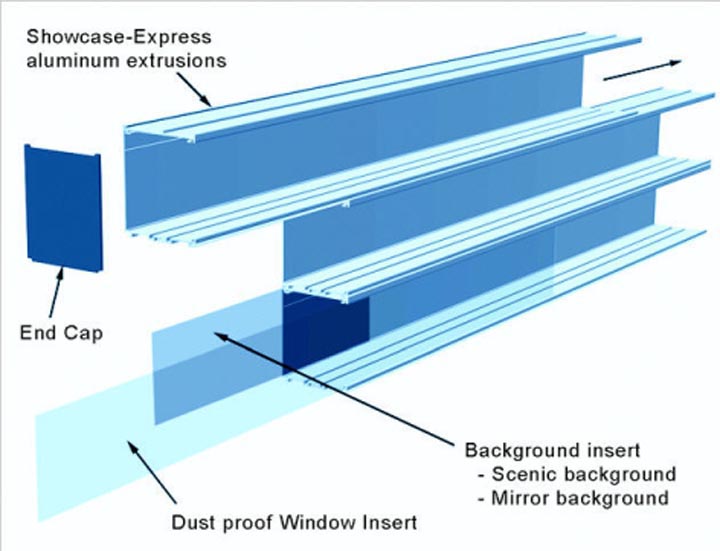
I decided to go with this high-end display shelf system. The display sections shown at Showcase-Express.com are versatile and expandable.
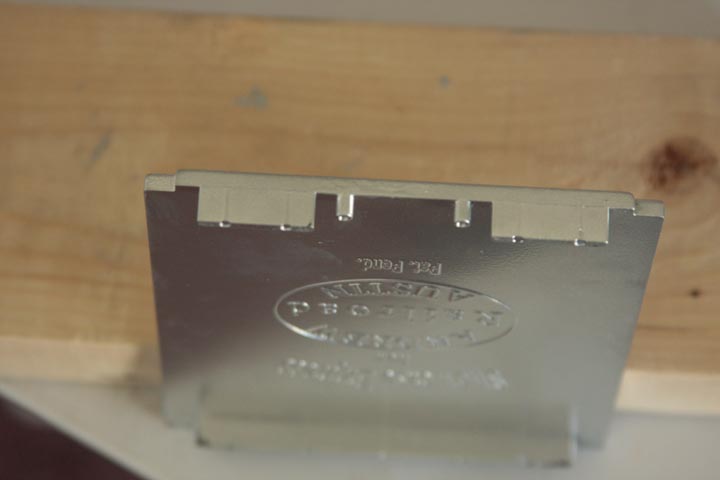
The neat four-foot long aluminum shelves are designed to be wall mounted but can also be used by resting them on a stable platform. You can buy these units individually or in packs of two or four, which offer better pricing options. All units come with front clear flexible windows and friction fit end caps that seal your case keeping your valuables dust free.
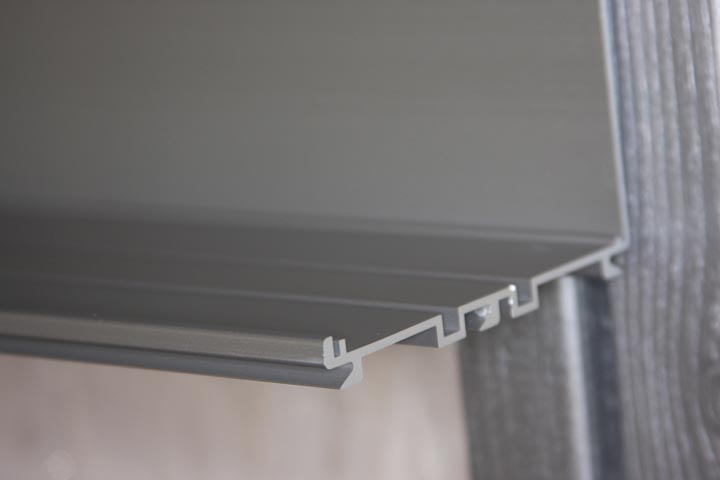
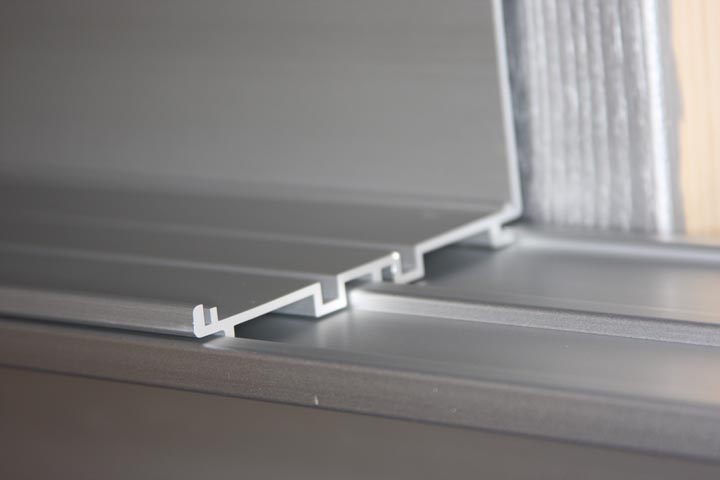
Like several of the other systems, they come with indentations for the O gauge wheels pre-cast into the bottom of the floor of the shelf. The Showcase Express shelves are pre-cut so that the shelves fit together via tongue-and-groove on top and bottom of one another.
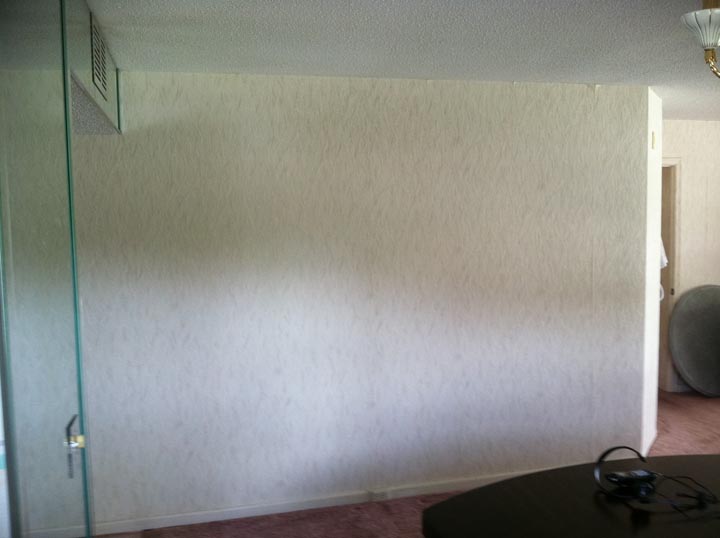
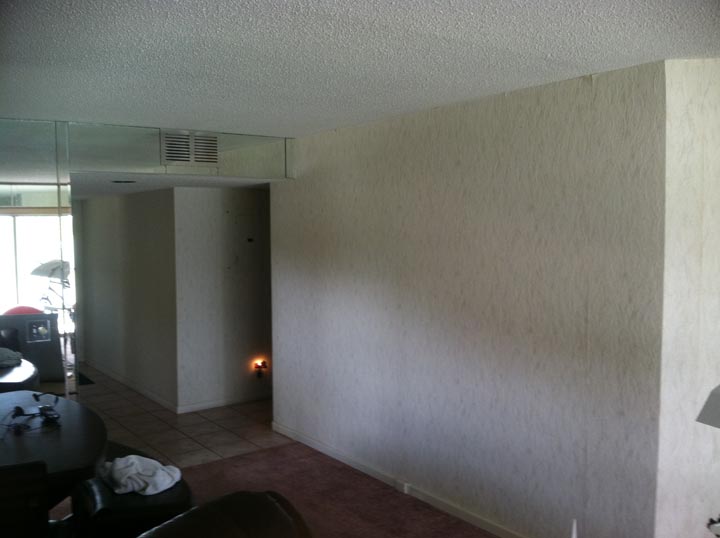
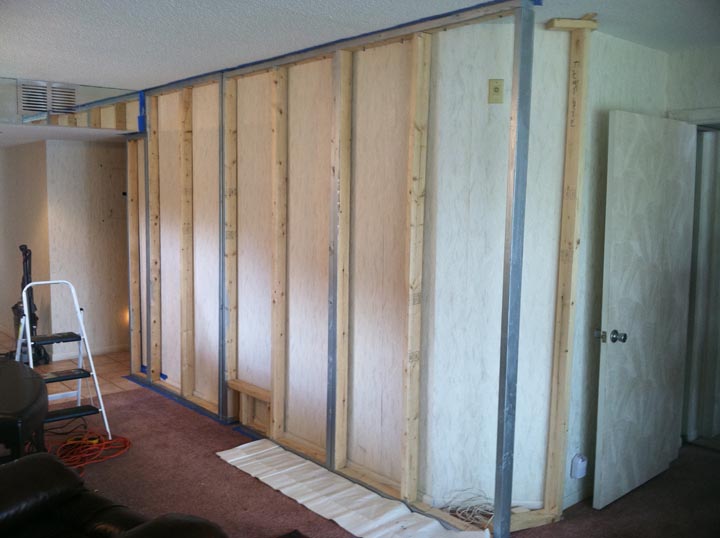
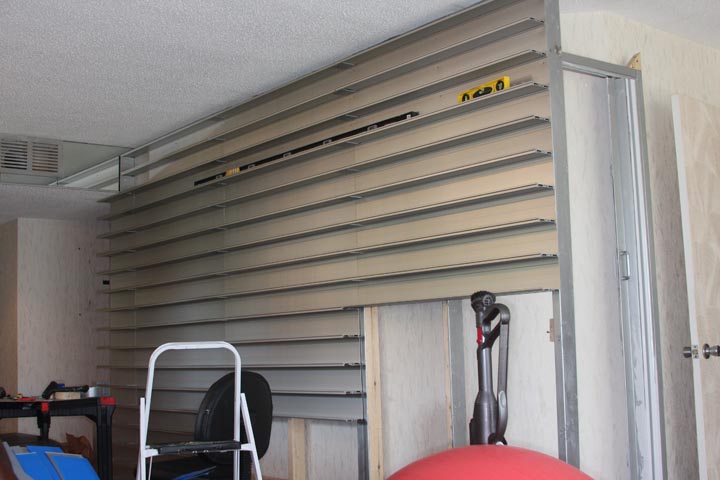
I had one particular wall in mind, about 11 feet long. Of course, there would be a major problem; there is air conditioning ductwork on one end. To make matters worse still, I am not sure that I really want to spend the rest of my life in this condo, so I really did not want to drill hundreds of holes into this wall, which of course is a load bearing one and made of concrete to boot. I would prefer eventually, to have an operating layout to go with my collection.
This wall eventually goes at a 45 degree angle into the Master Bedroom. I decided to square off the wall so that it was exactly 12 feet long excluding the 16 inches under the ductwork; making it a grand total of 160 inches wide.
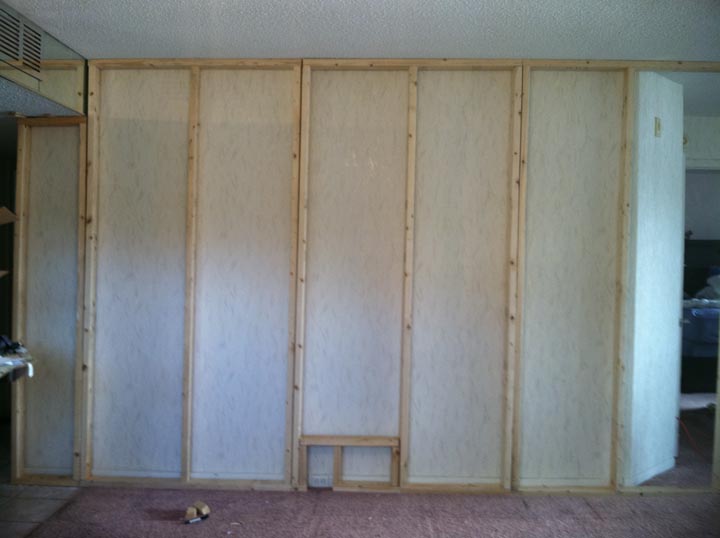
In order to preserve the wall and wallpaper, I decided to build a false wall over it using 2 x 4s. I did drill holes through the top of the framing and into the concrete ceiling and used concrete screws to make sure that the Great Wall of Mintz® would not be collapsing anytime soon. I also used wood shims where the top shelf meets the ceiling as an added safety precaution to prevent the wall from ever falling forward.
The Showcase Express “O” gauge display system comes in a 4 foot length standard, but with one optional connector you can easily have an eight foot row or more, such as I did. They even offer custom cuts, for a small fee. They are easy to install and also offer many optional accessories such as reflective mirror backgrounds, scenic background and even LED lighting which “disappears” and is unobtrusive once installed.

These shelving units display nicely a wide range of equipment. More importantly, it is “Made in the U.S of America”. The scales offered are N; Z; HO, S, O and G gauge.
I computed that it would accept 18 rows top to bottom for a standard 8 foot ceiling.
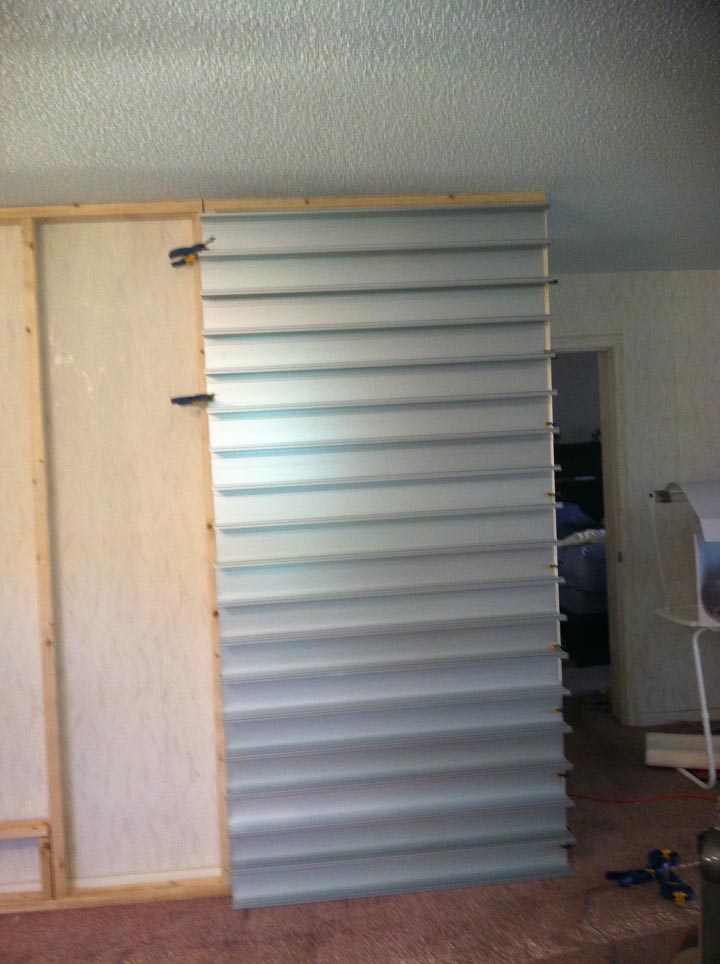
Because the interlocking pieces together are slightly smaller than the individual pieces taken as a whole, as well as taking into account the height of the carpet, I created a temporary column to see how many pieces were necessary for a column.
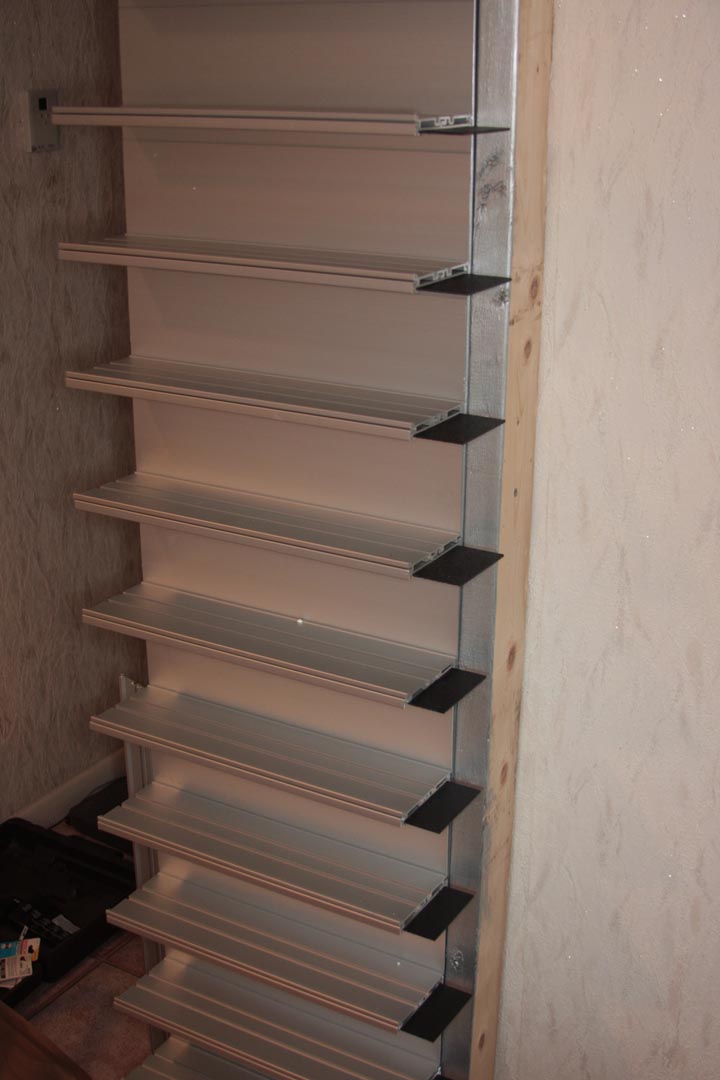
Notice I also painted the wood face silver so that no wood color would show between the lateral columns of shelving.
The expandability of the cases also offers optional side-by-side connectors in order to keep your “tracks” level.
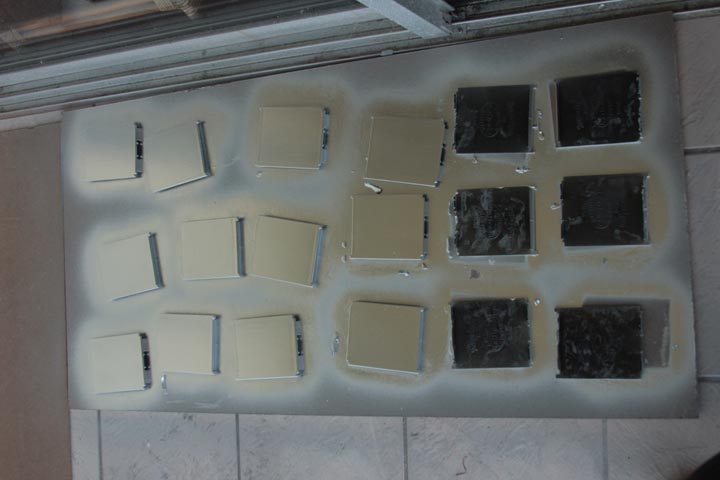
I spray painted the black connectors & end caps and any potentially exposed woodwork using Design Master Premium “Super Silver” # 732, which I purchased at Michael’s, a nationally known arts and crafts store.
I purchased 54 units of the 4 footers, (18 rows by 3 columns) and purchased another 6 which would be custom cut by them for the other 16 inch x 16 rows under the ductwork, leaving me with one 32 inch piece leftover.
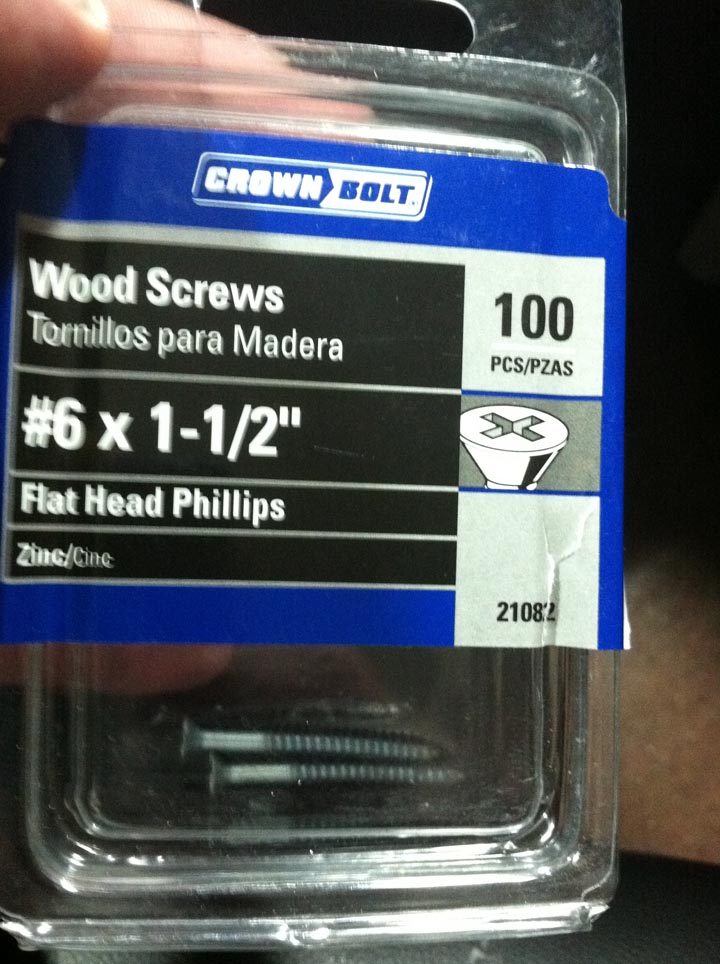
There is an indentation in the shelf so that you can drill a hole and then screw it into the wall. I used the recommended Philips head screws, 3 per each four foot section, and 2 on each end for the 16″ ones.
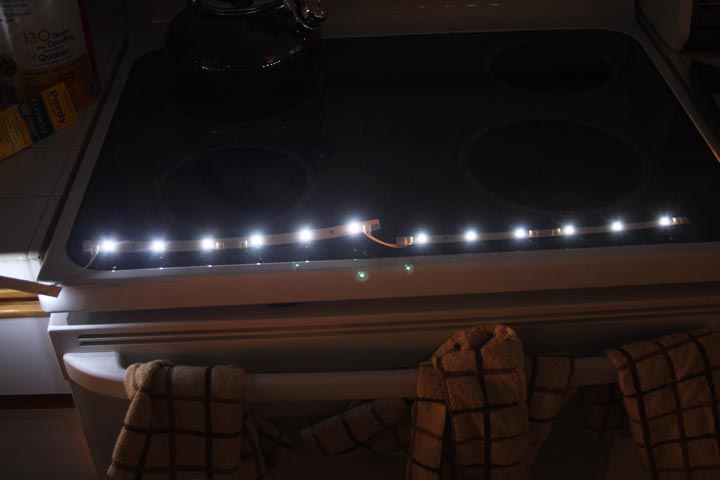
I also opted to purchase the mirrored background surface and museum quality LED lighting.
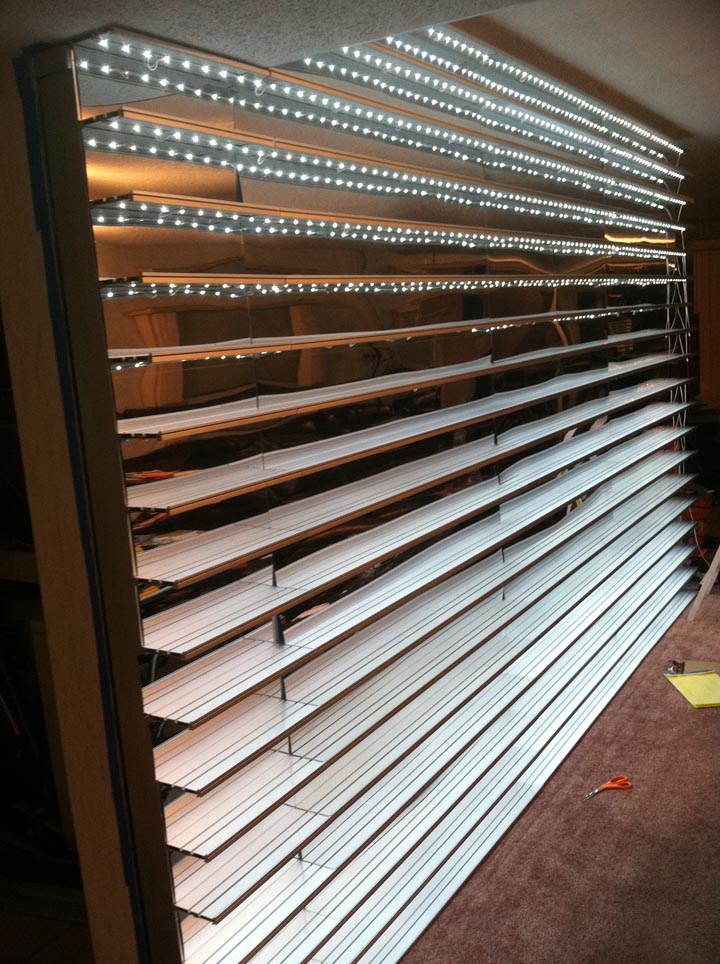
No, there aren’t two sets of LEDs, but what you are seeing is the reflection in the mirrored surface
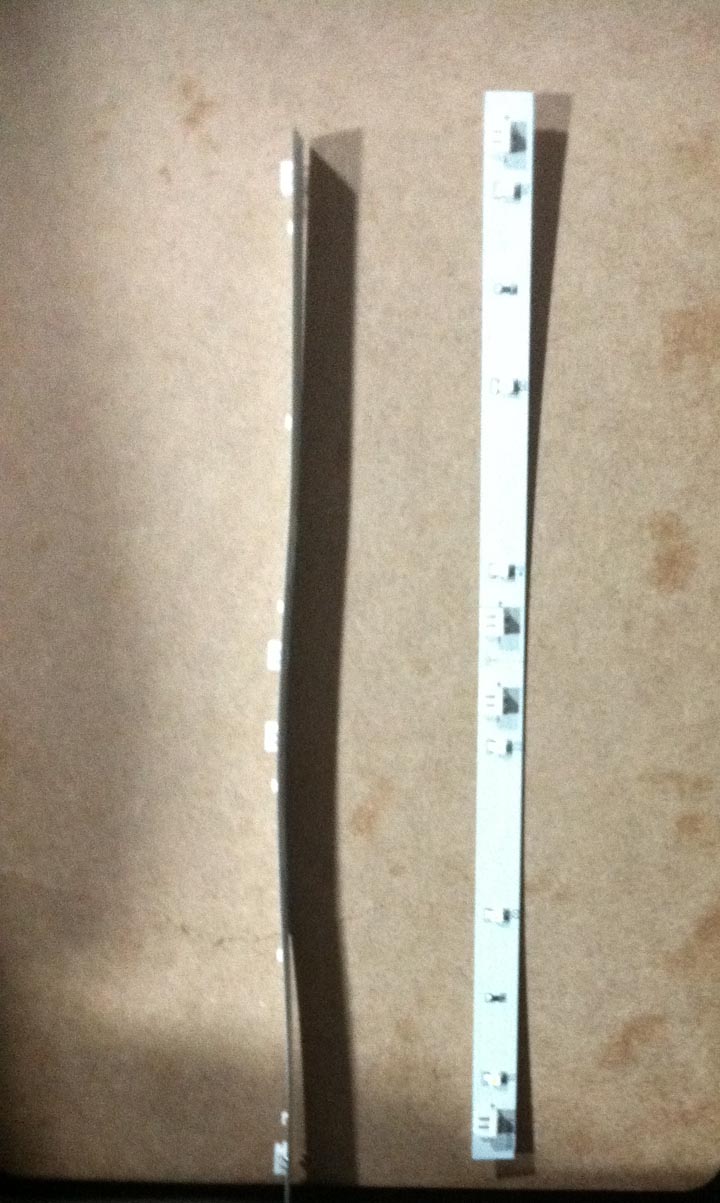
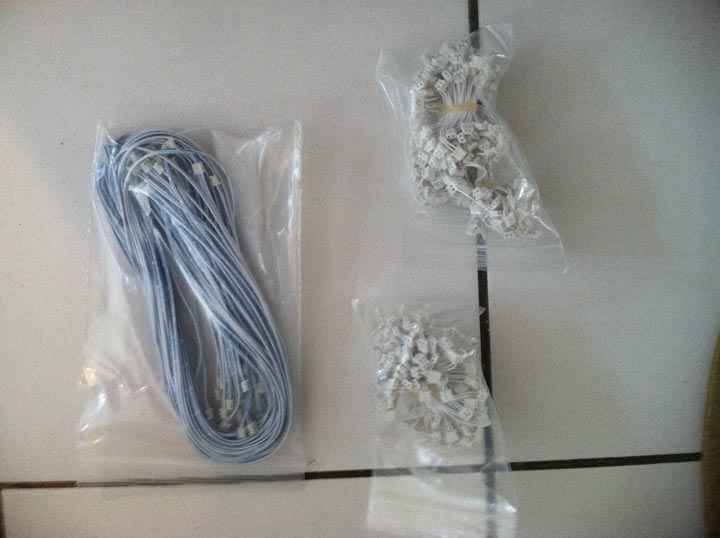
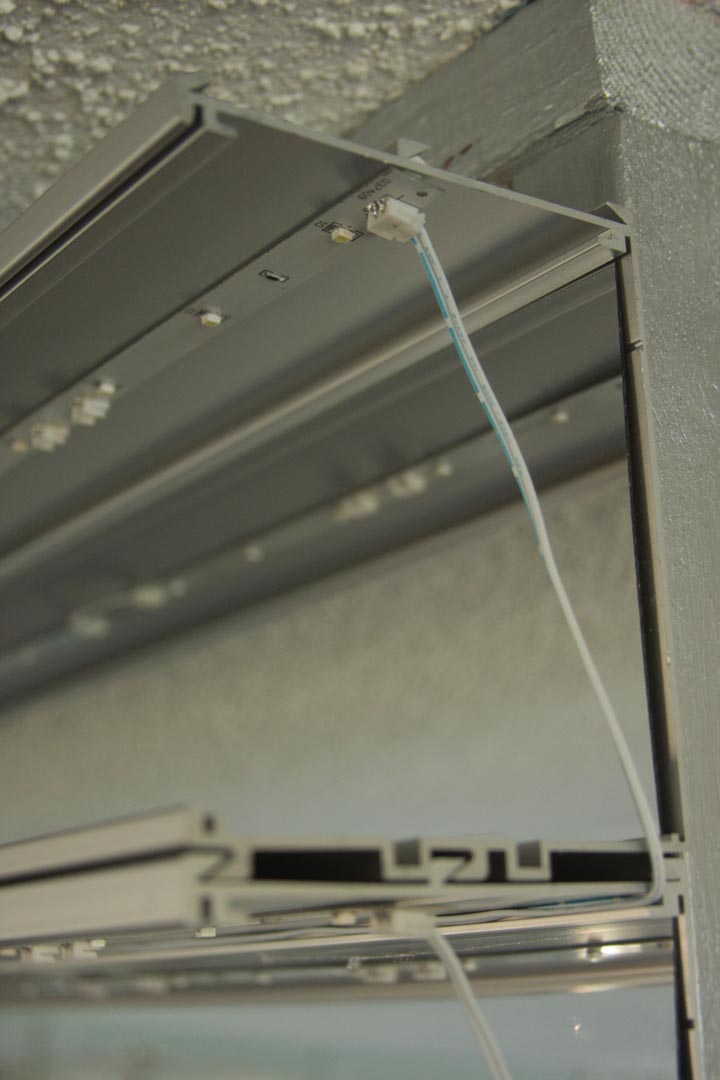
The foot long LED strips are 1/10th of an inch thick and ½” wide but have indentations and can be cut in half without compromising the electrical connection.
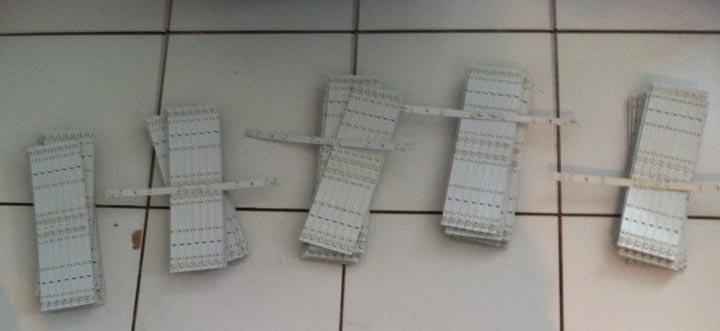
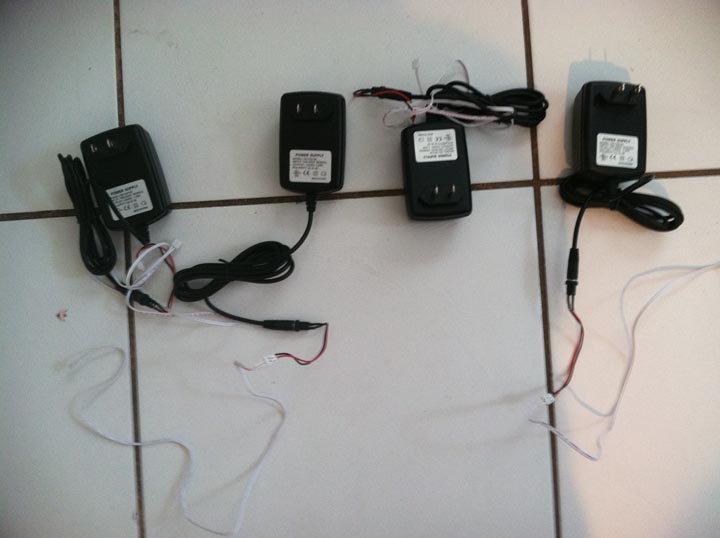
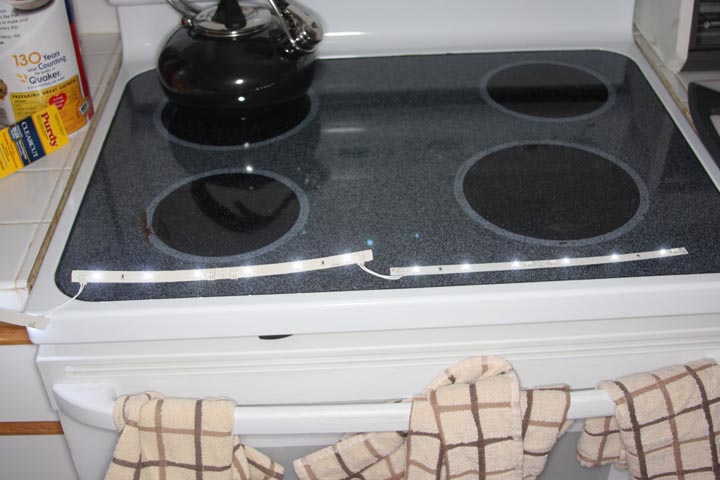
The 12″ LED strips come connected, all you have to do is fold and tear them apart. They have adhesive backing and can be customized in 6 inch increments and have a life up to 100,000 hours. At first I put them in the center of the shelving, but this caused a shadow to be seen on the trains after I put them up, so I redid the entire wall and put the LED strips flush with the area closest to the front of the shelf. Who cares if there is a shadow in the rear, right? The strips come with a 12 volt “transformer” and each will power up to 56 feet.
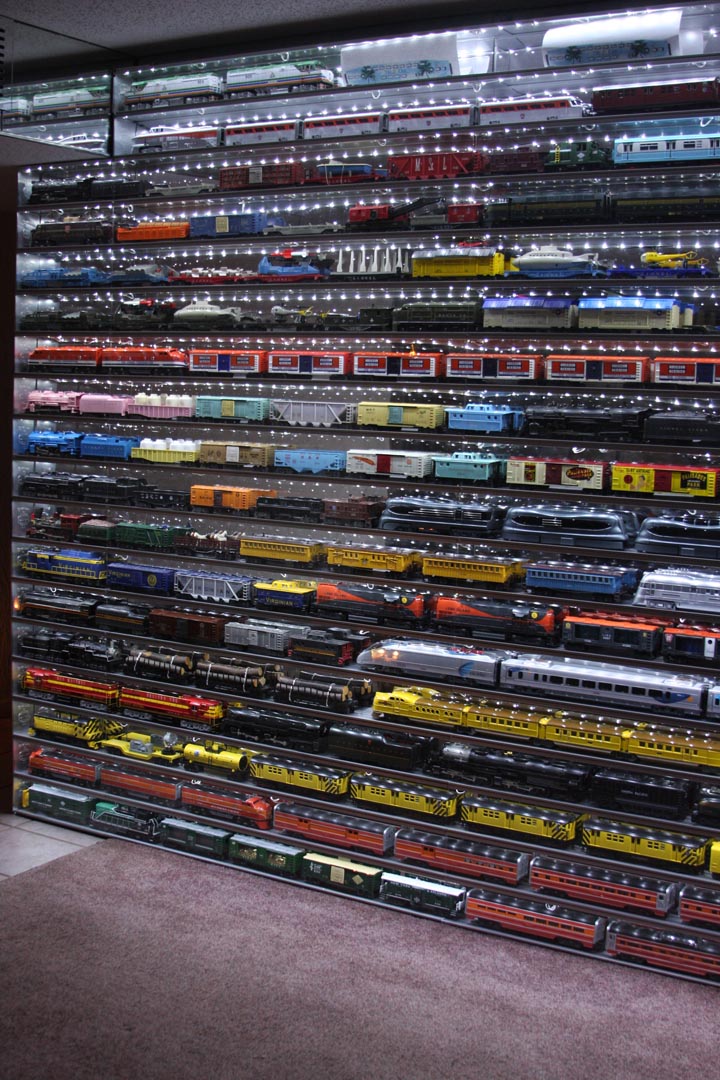
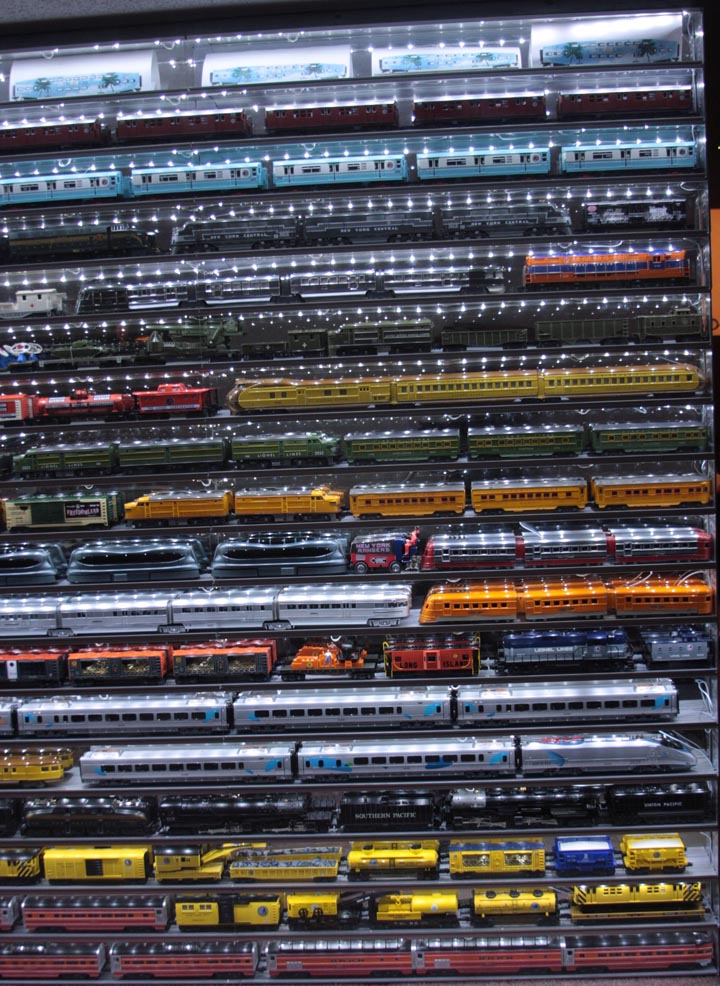
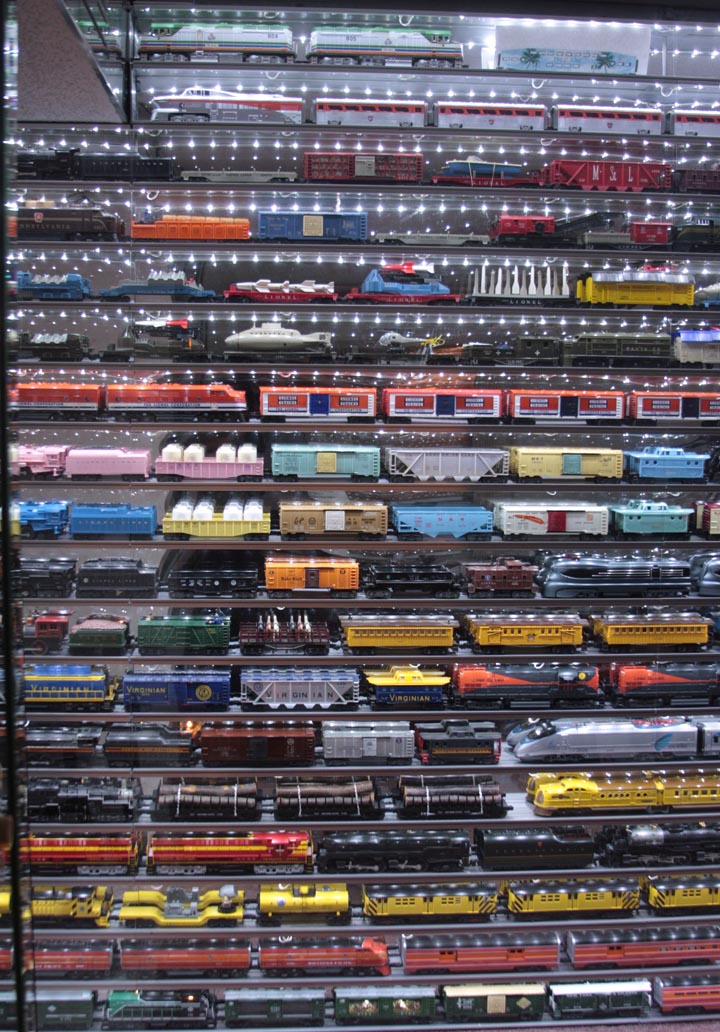
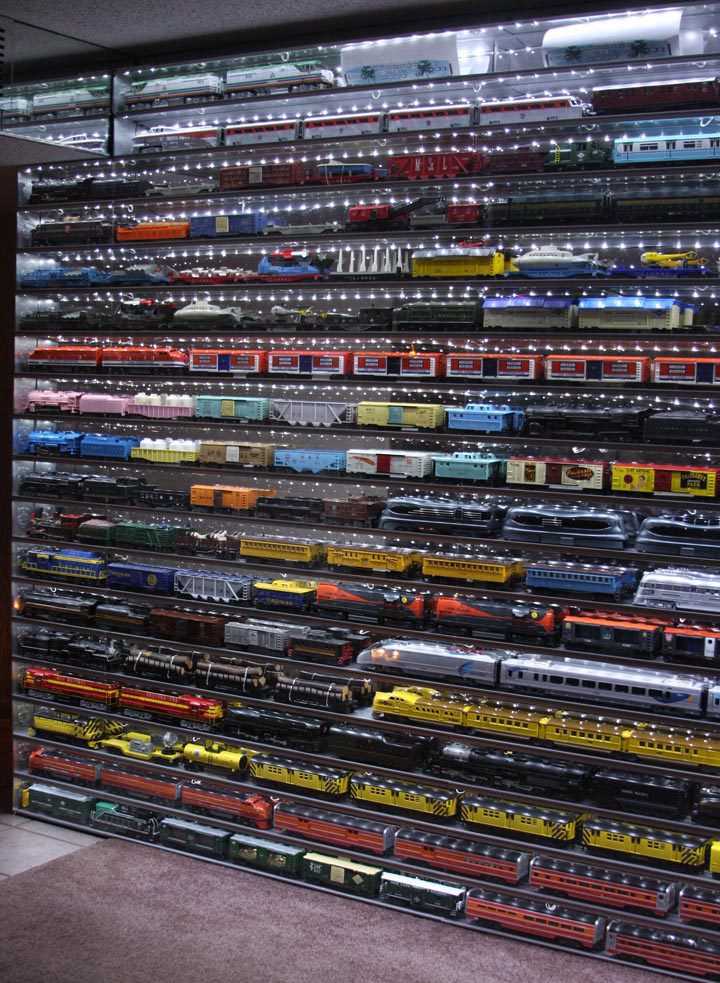


I hope you agree that the result looks extremely attractive, and most importantly, the collection is protected from dust.
The only downside is that I am eye-balling other walls in the condo and may end up wanting to display all of my trains. 🙂


